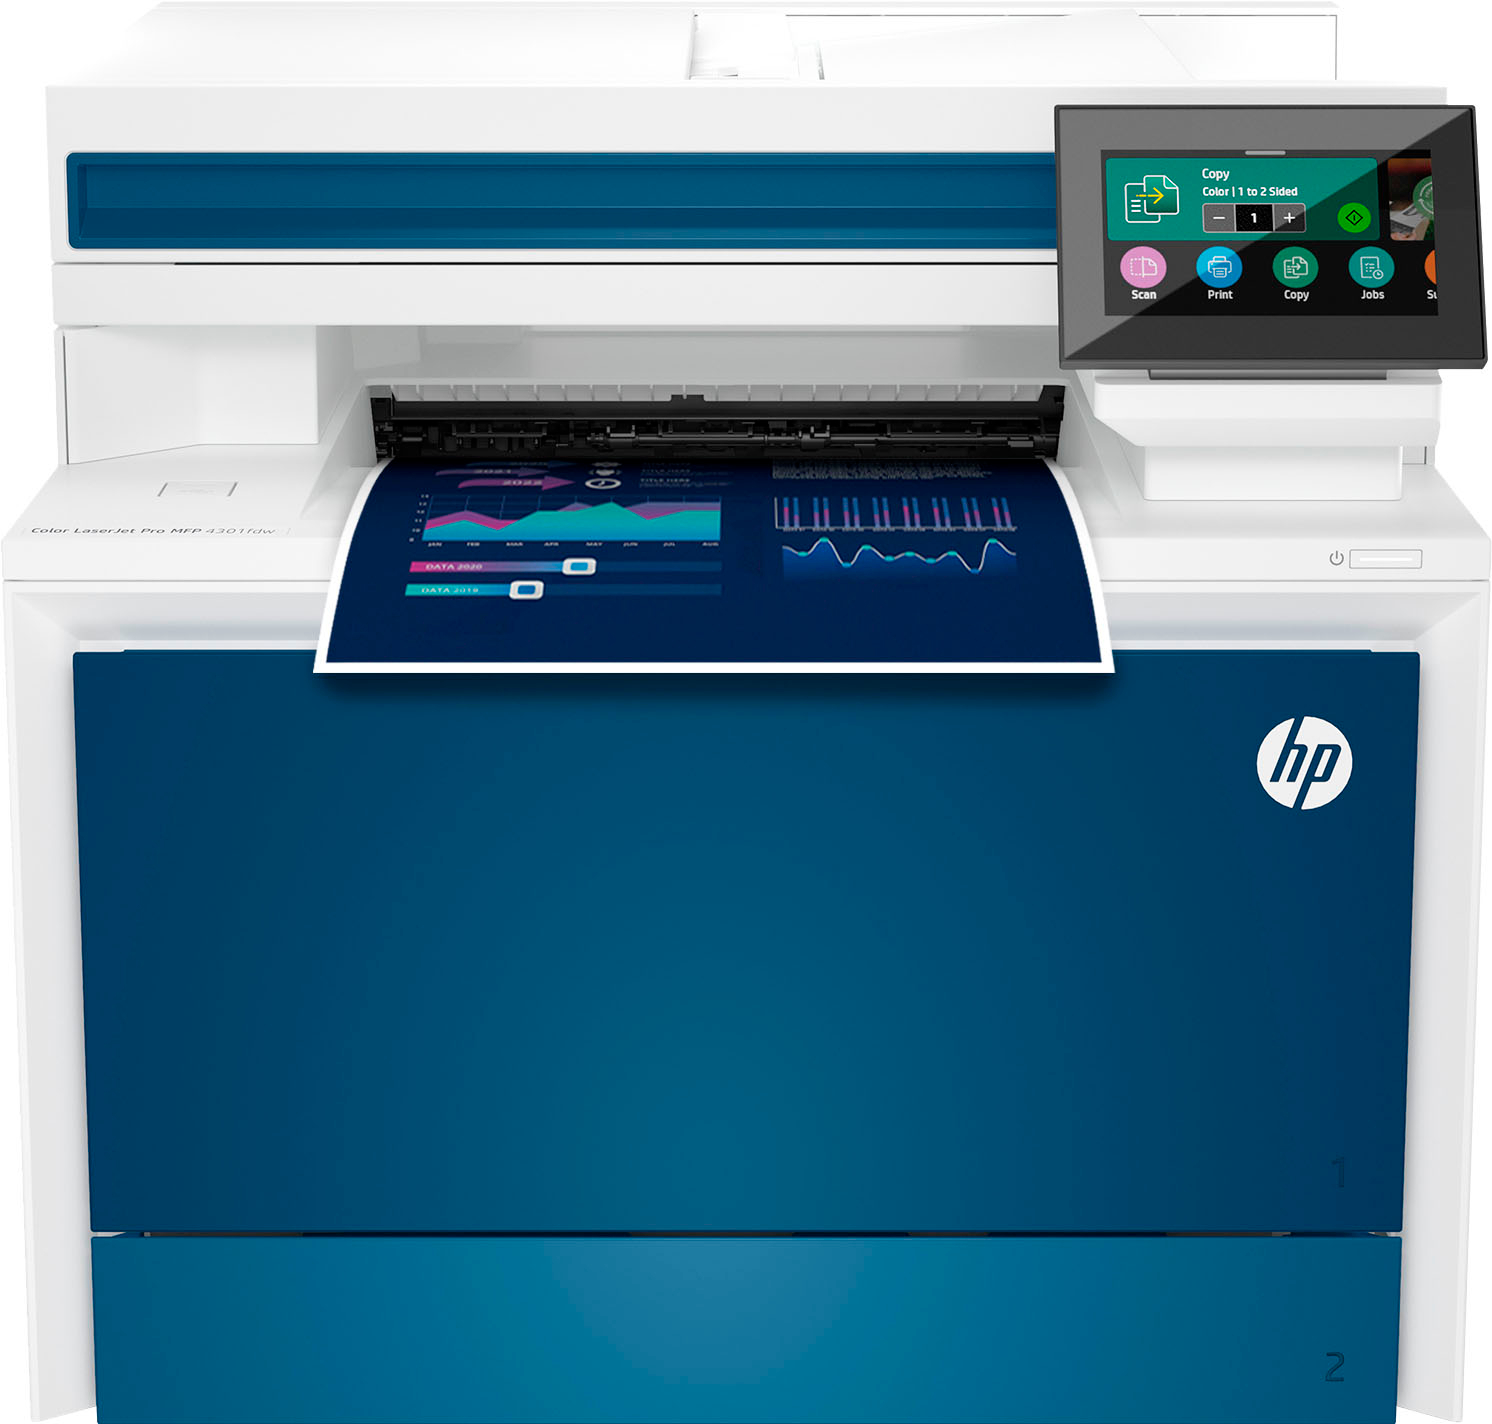
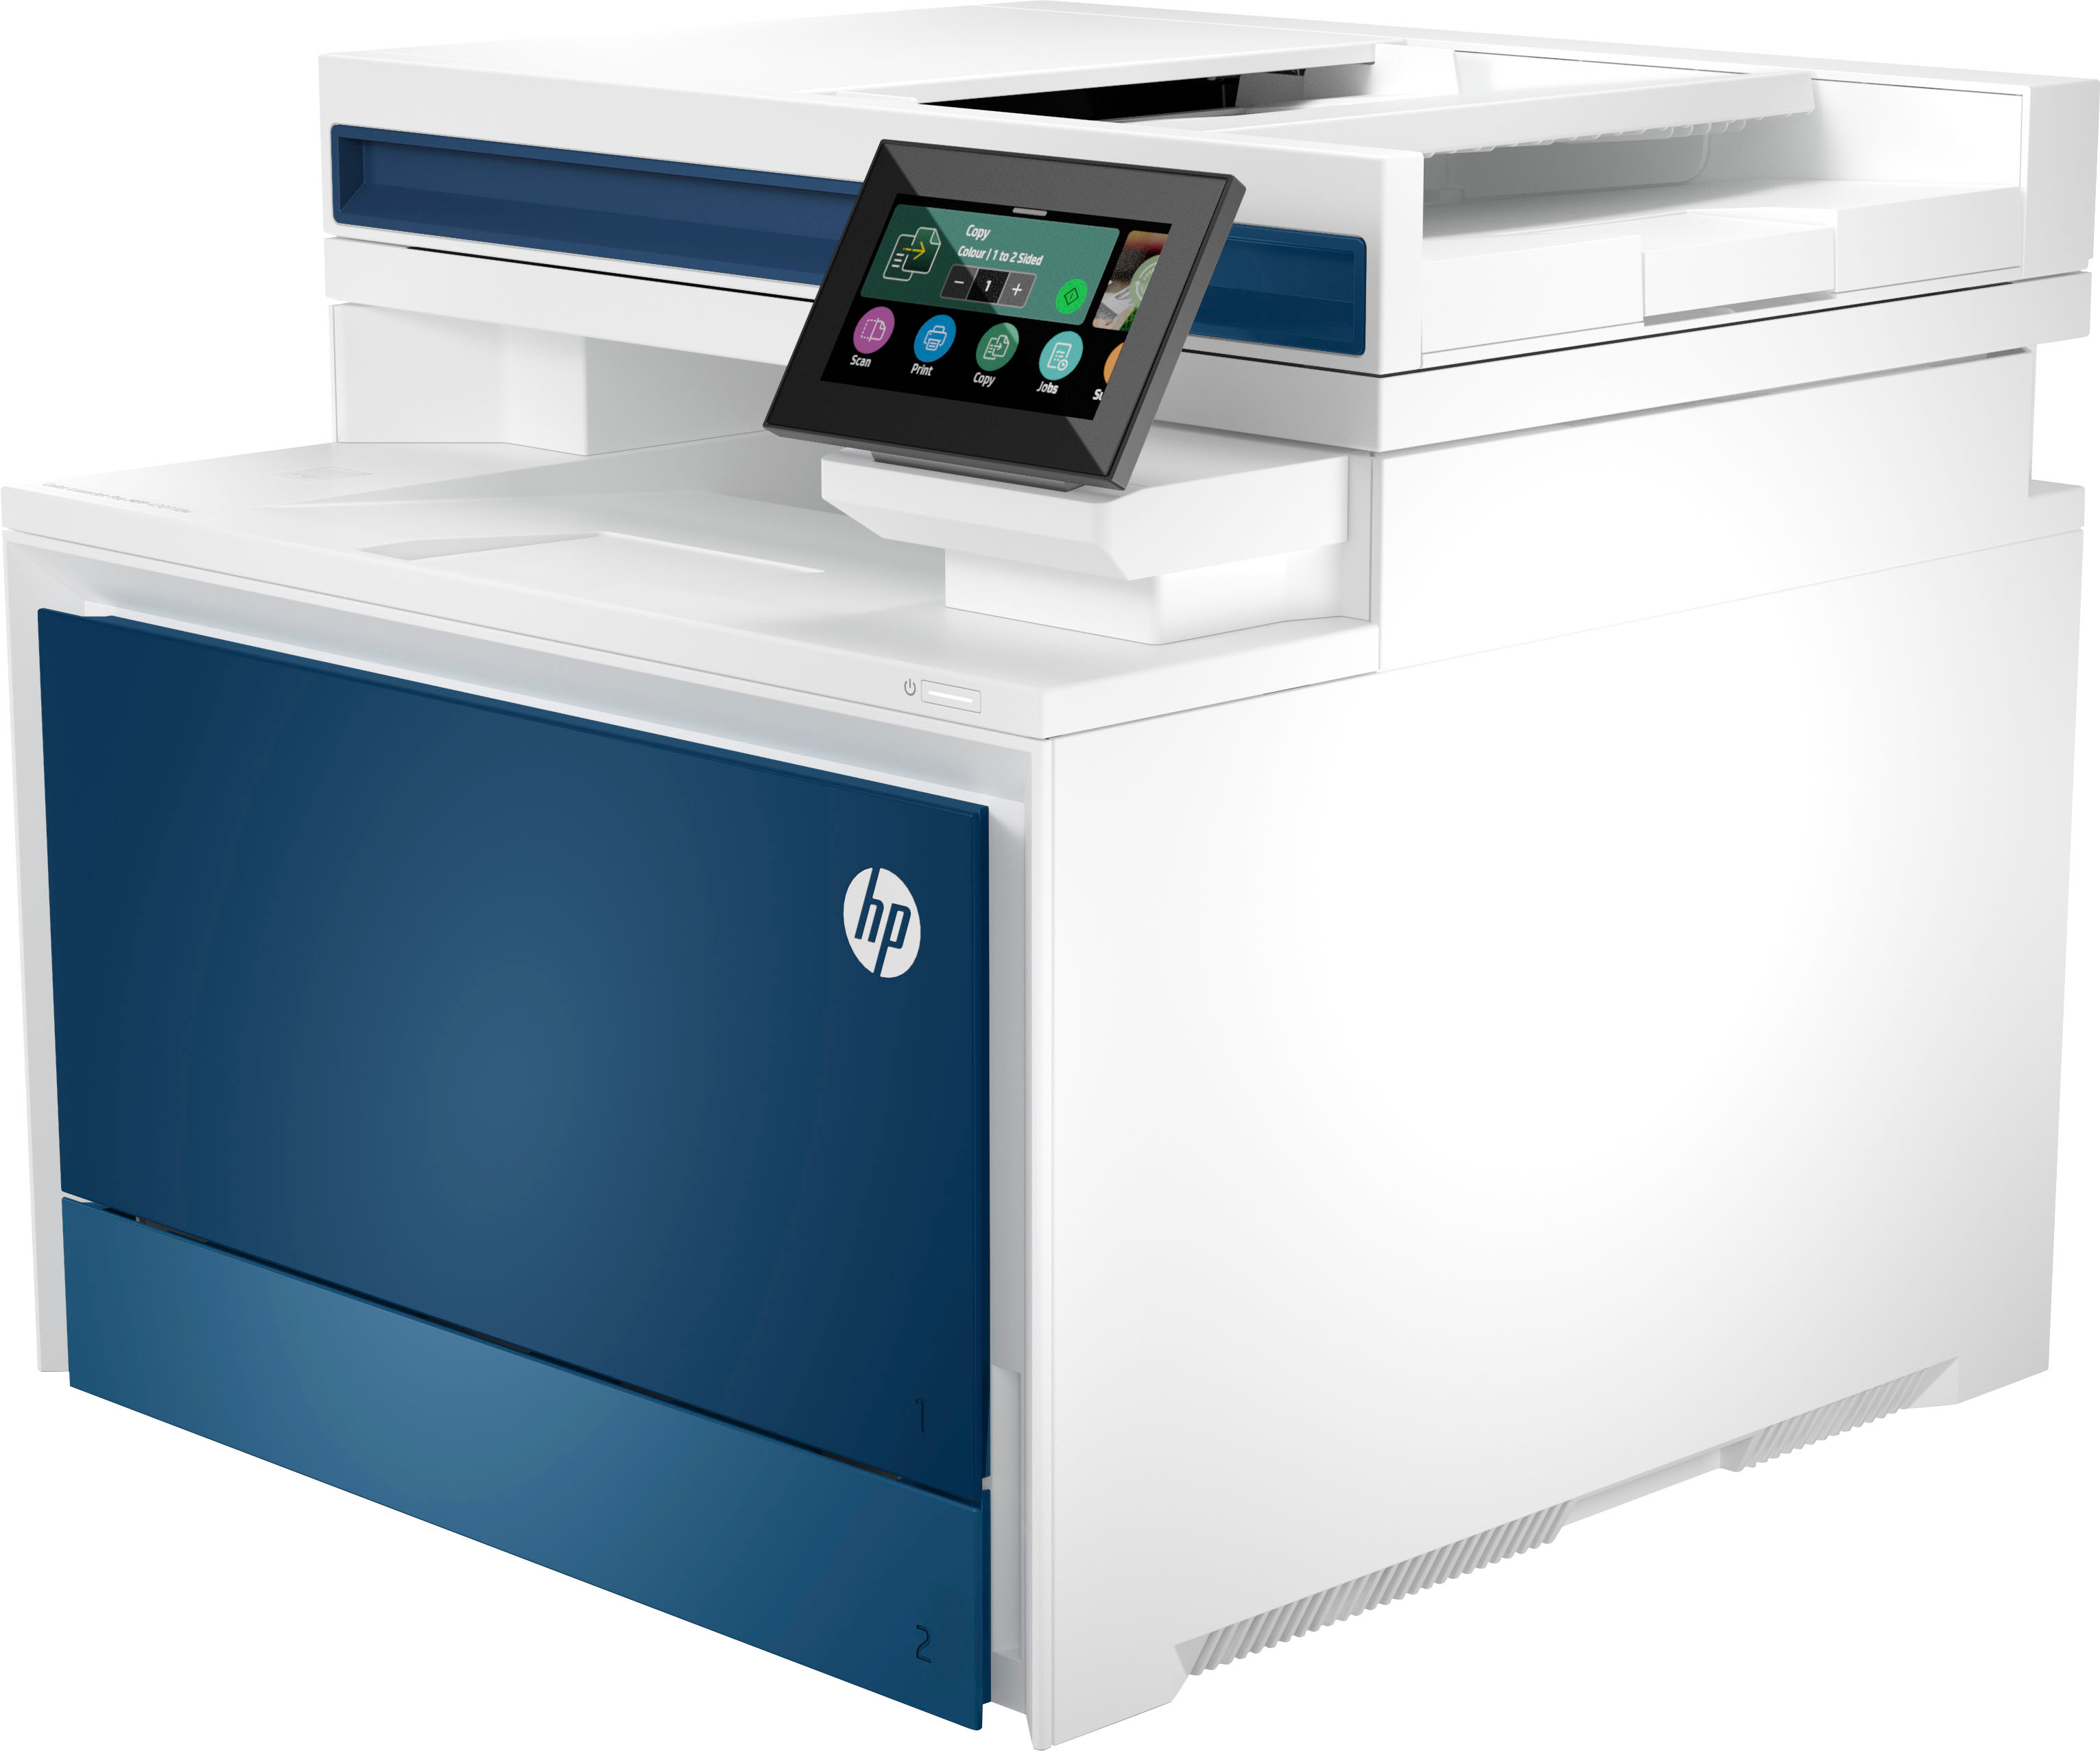
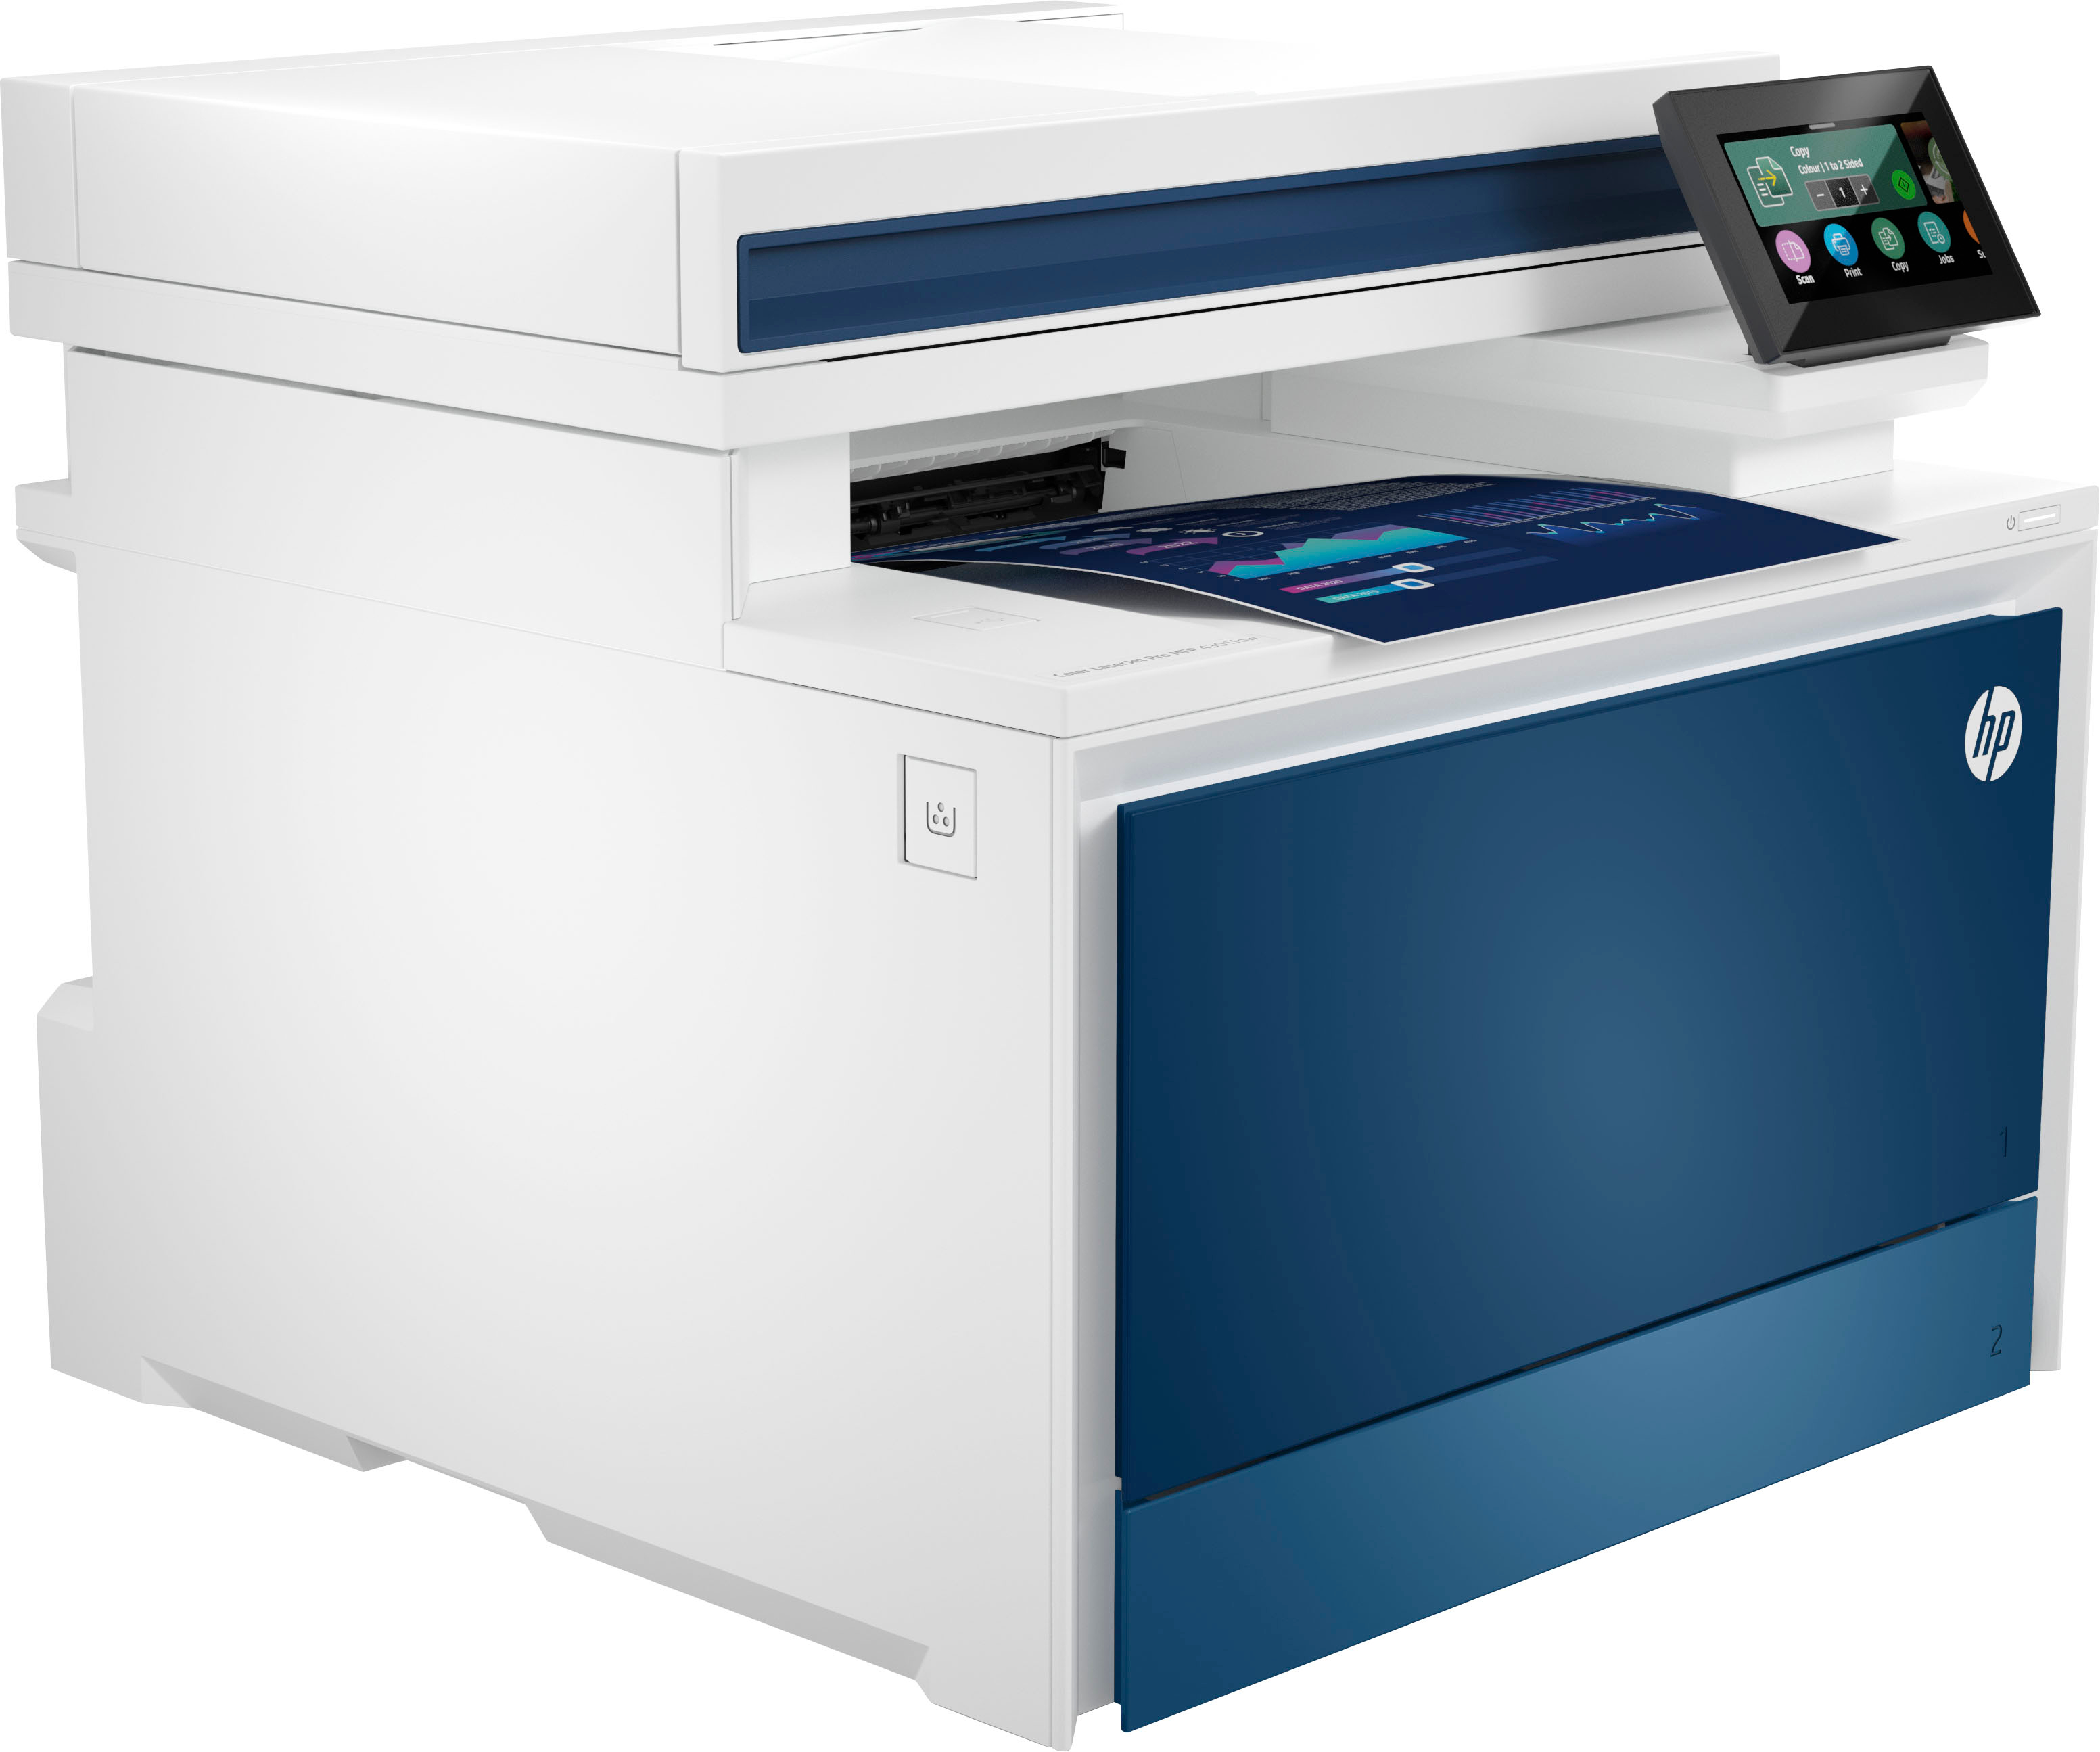
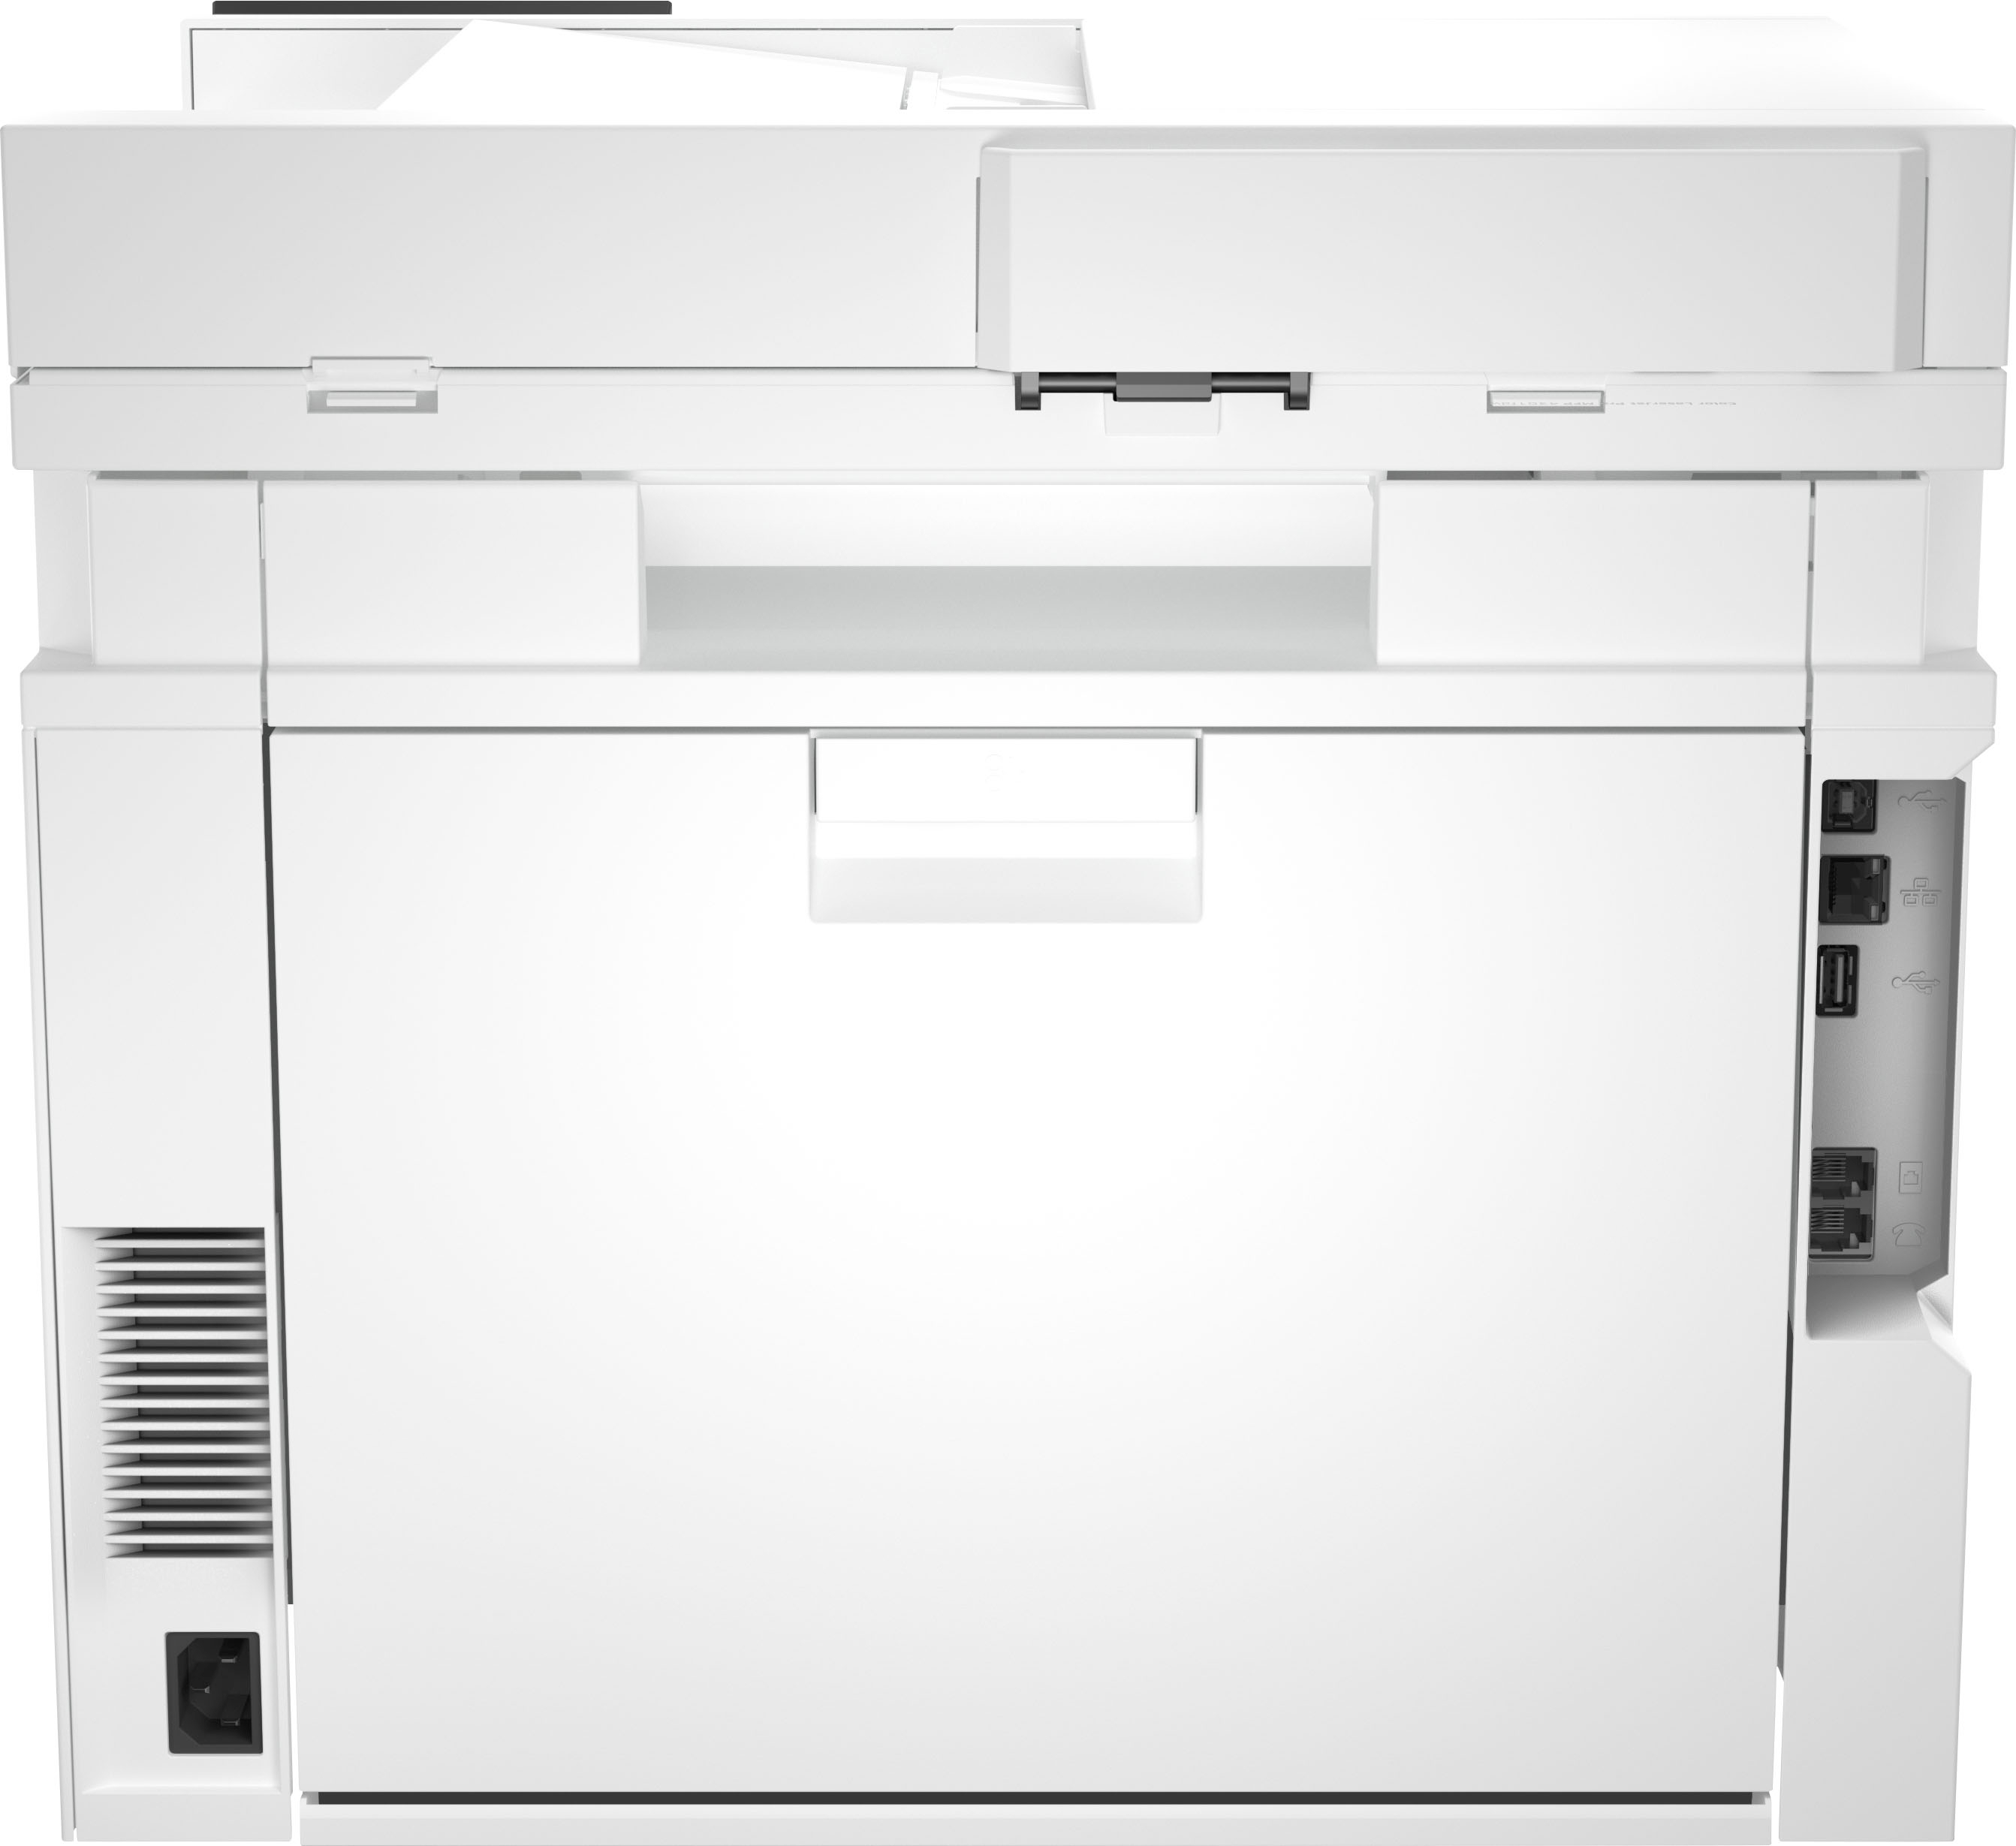
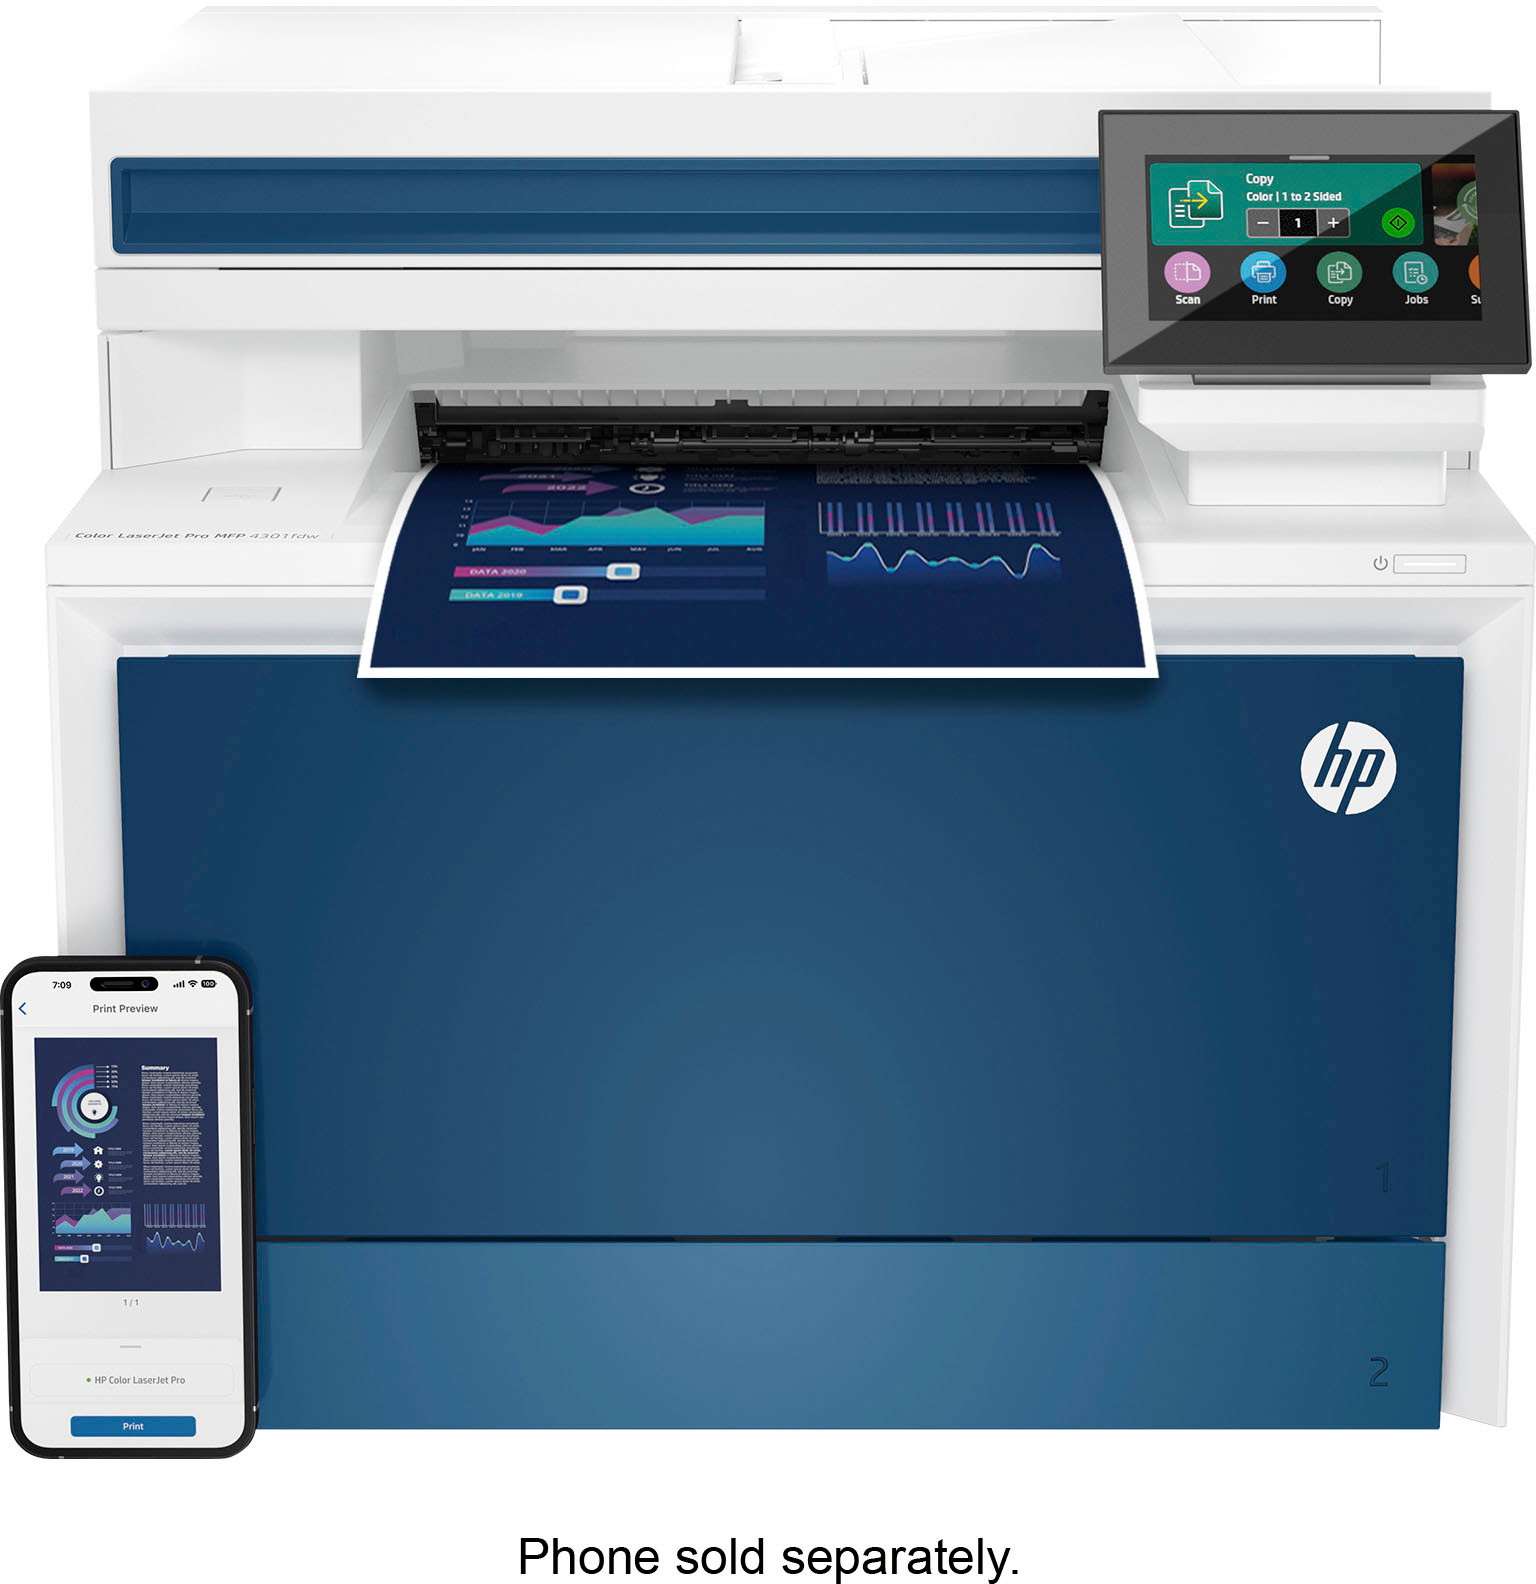
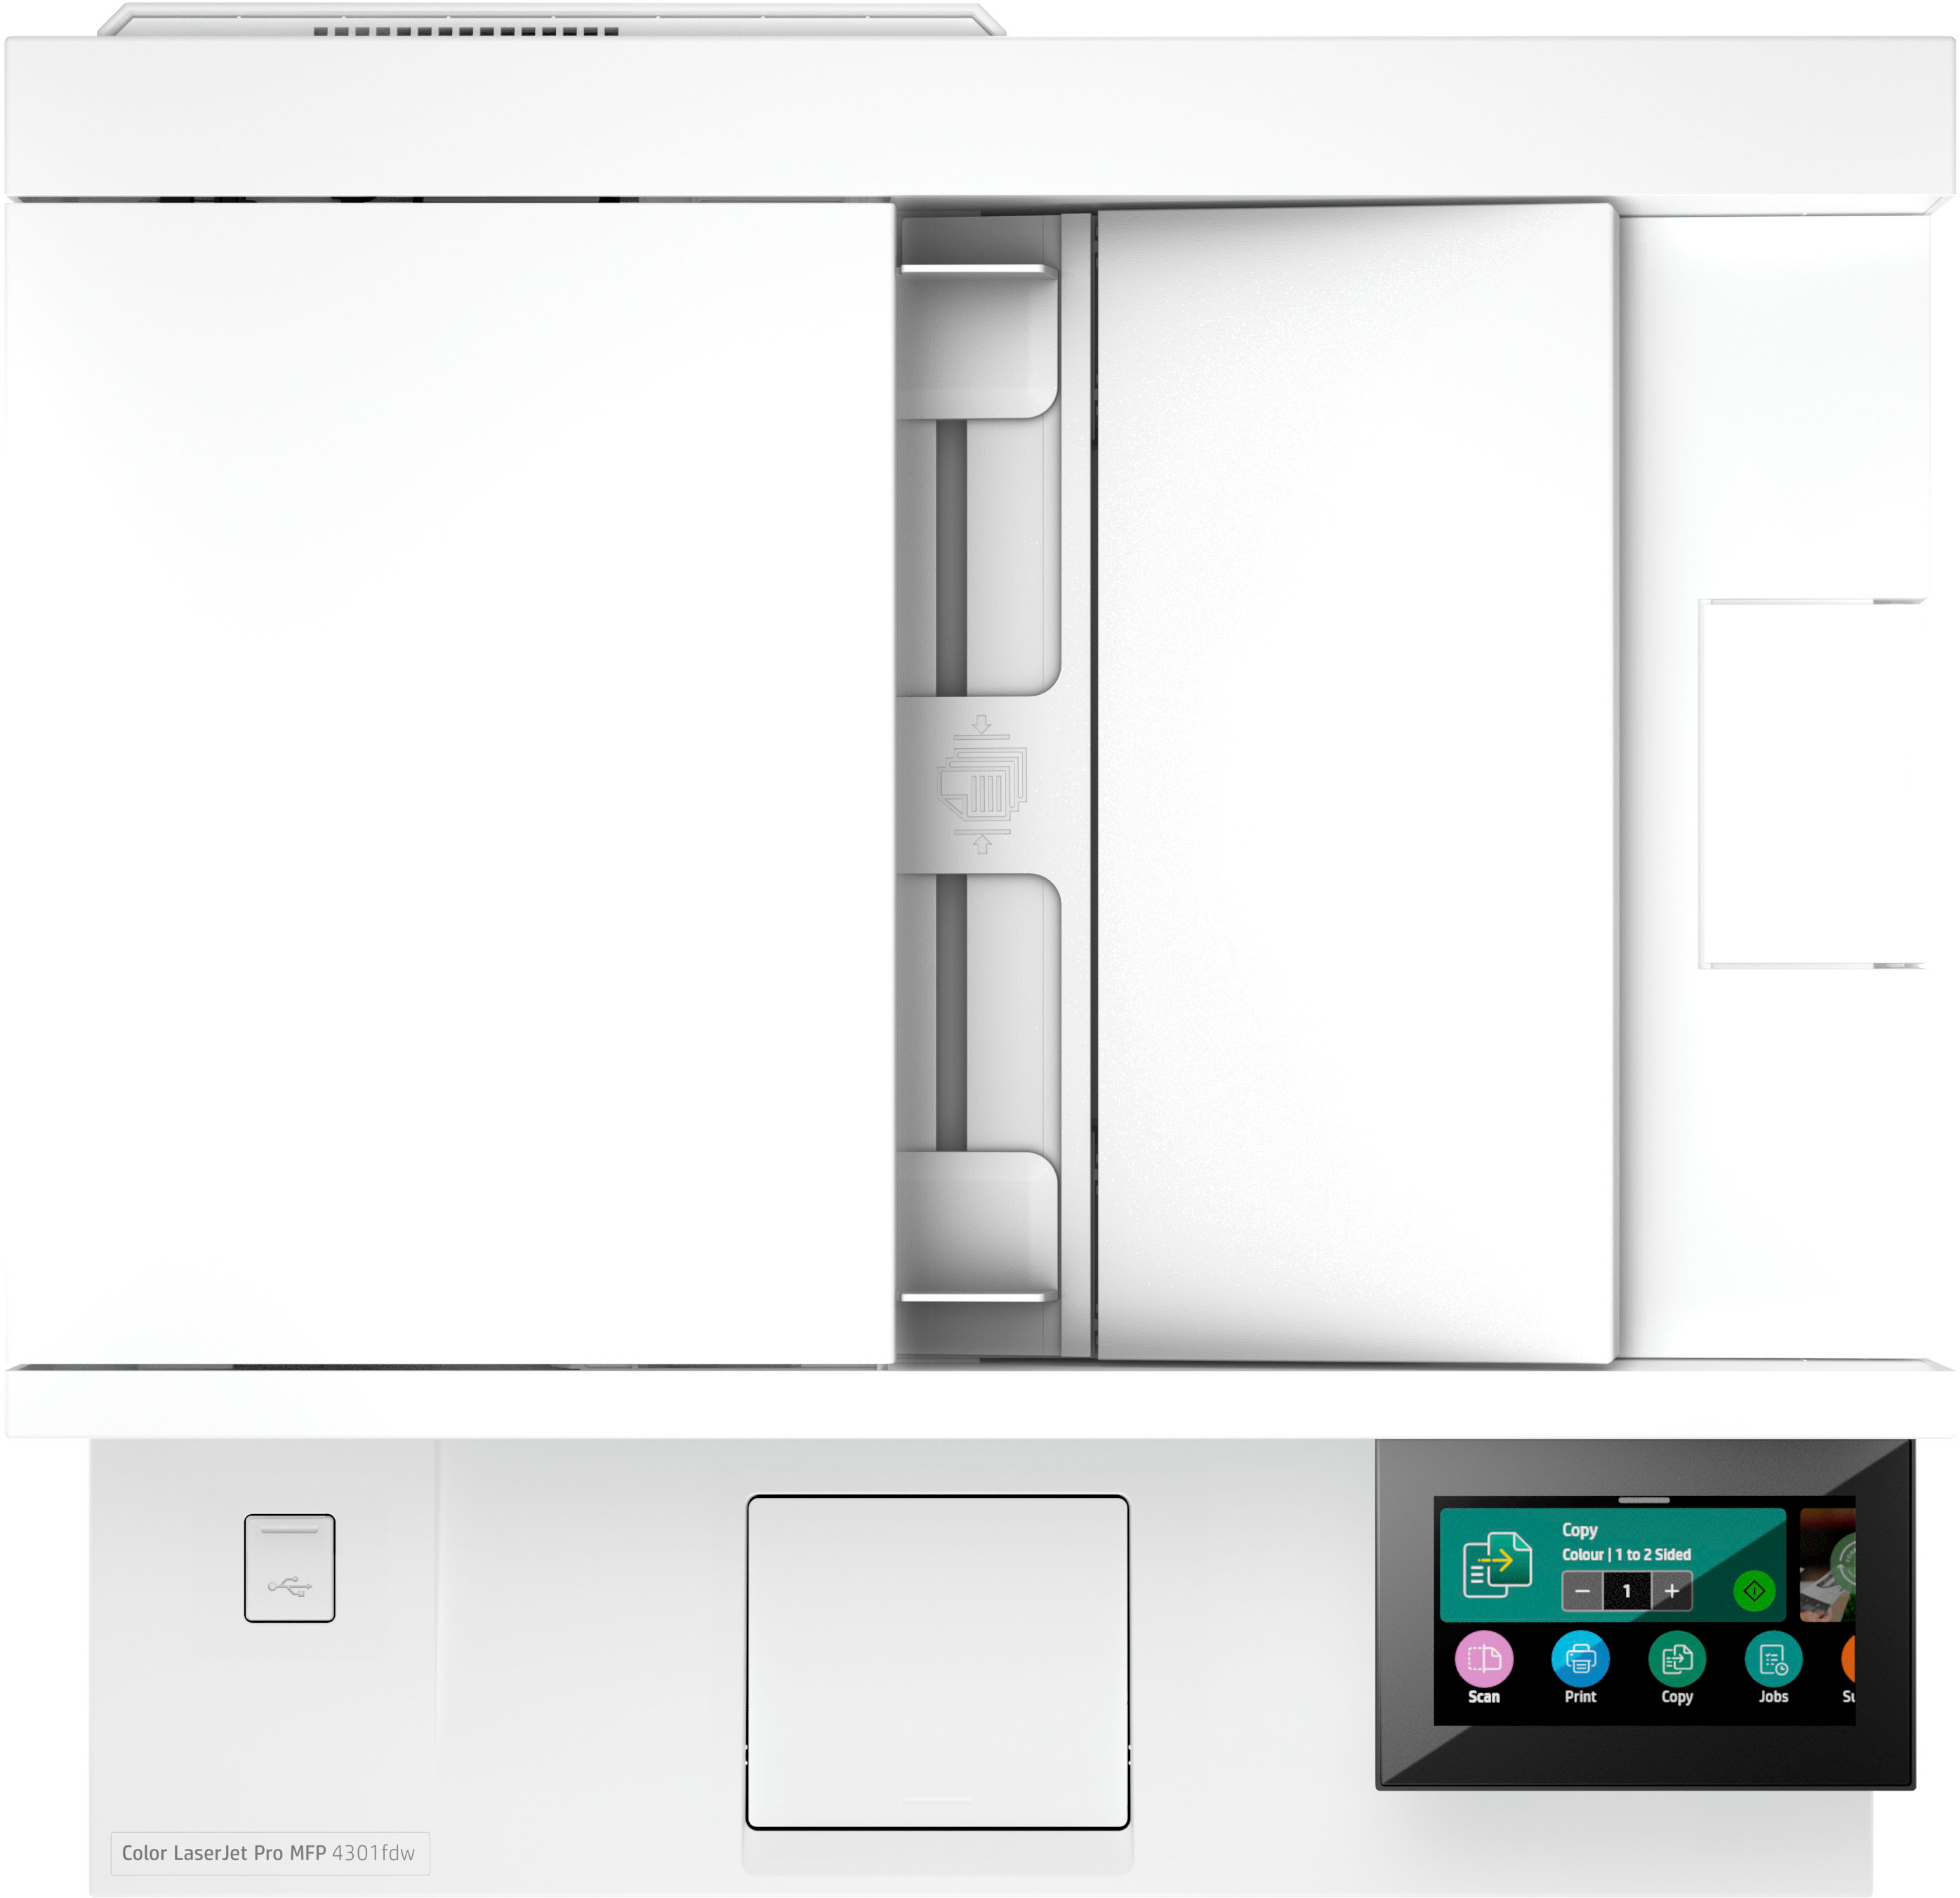
HP LaserJet Pro 4301fdw Printer – White/Blue,
How to Use the HP LaserJet Pro 4301fdw
Setting up the Printer
- Unbox the printer and remove all packaging materials.
- Connect the power cord to the printer and plug it into a power outlet.
- Insert the installation CD or download the printer software from the HP website.
- Follow the on-screen instructions to install the printer software.
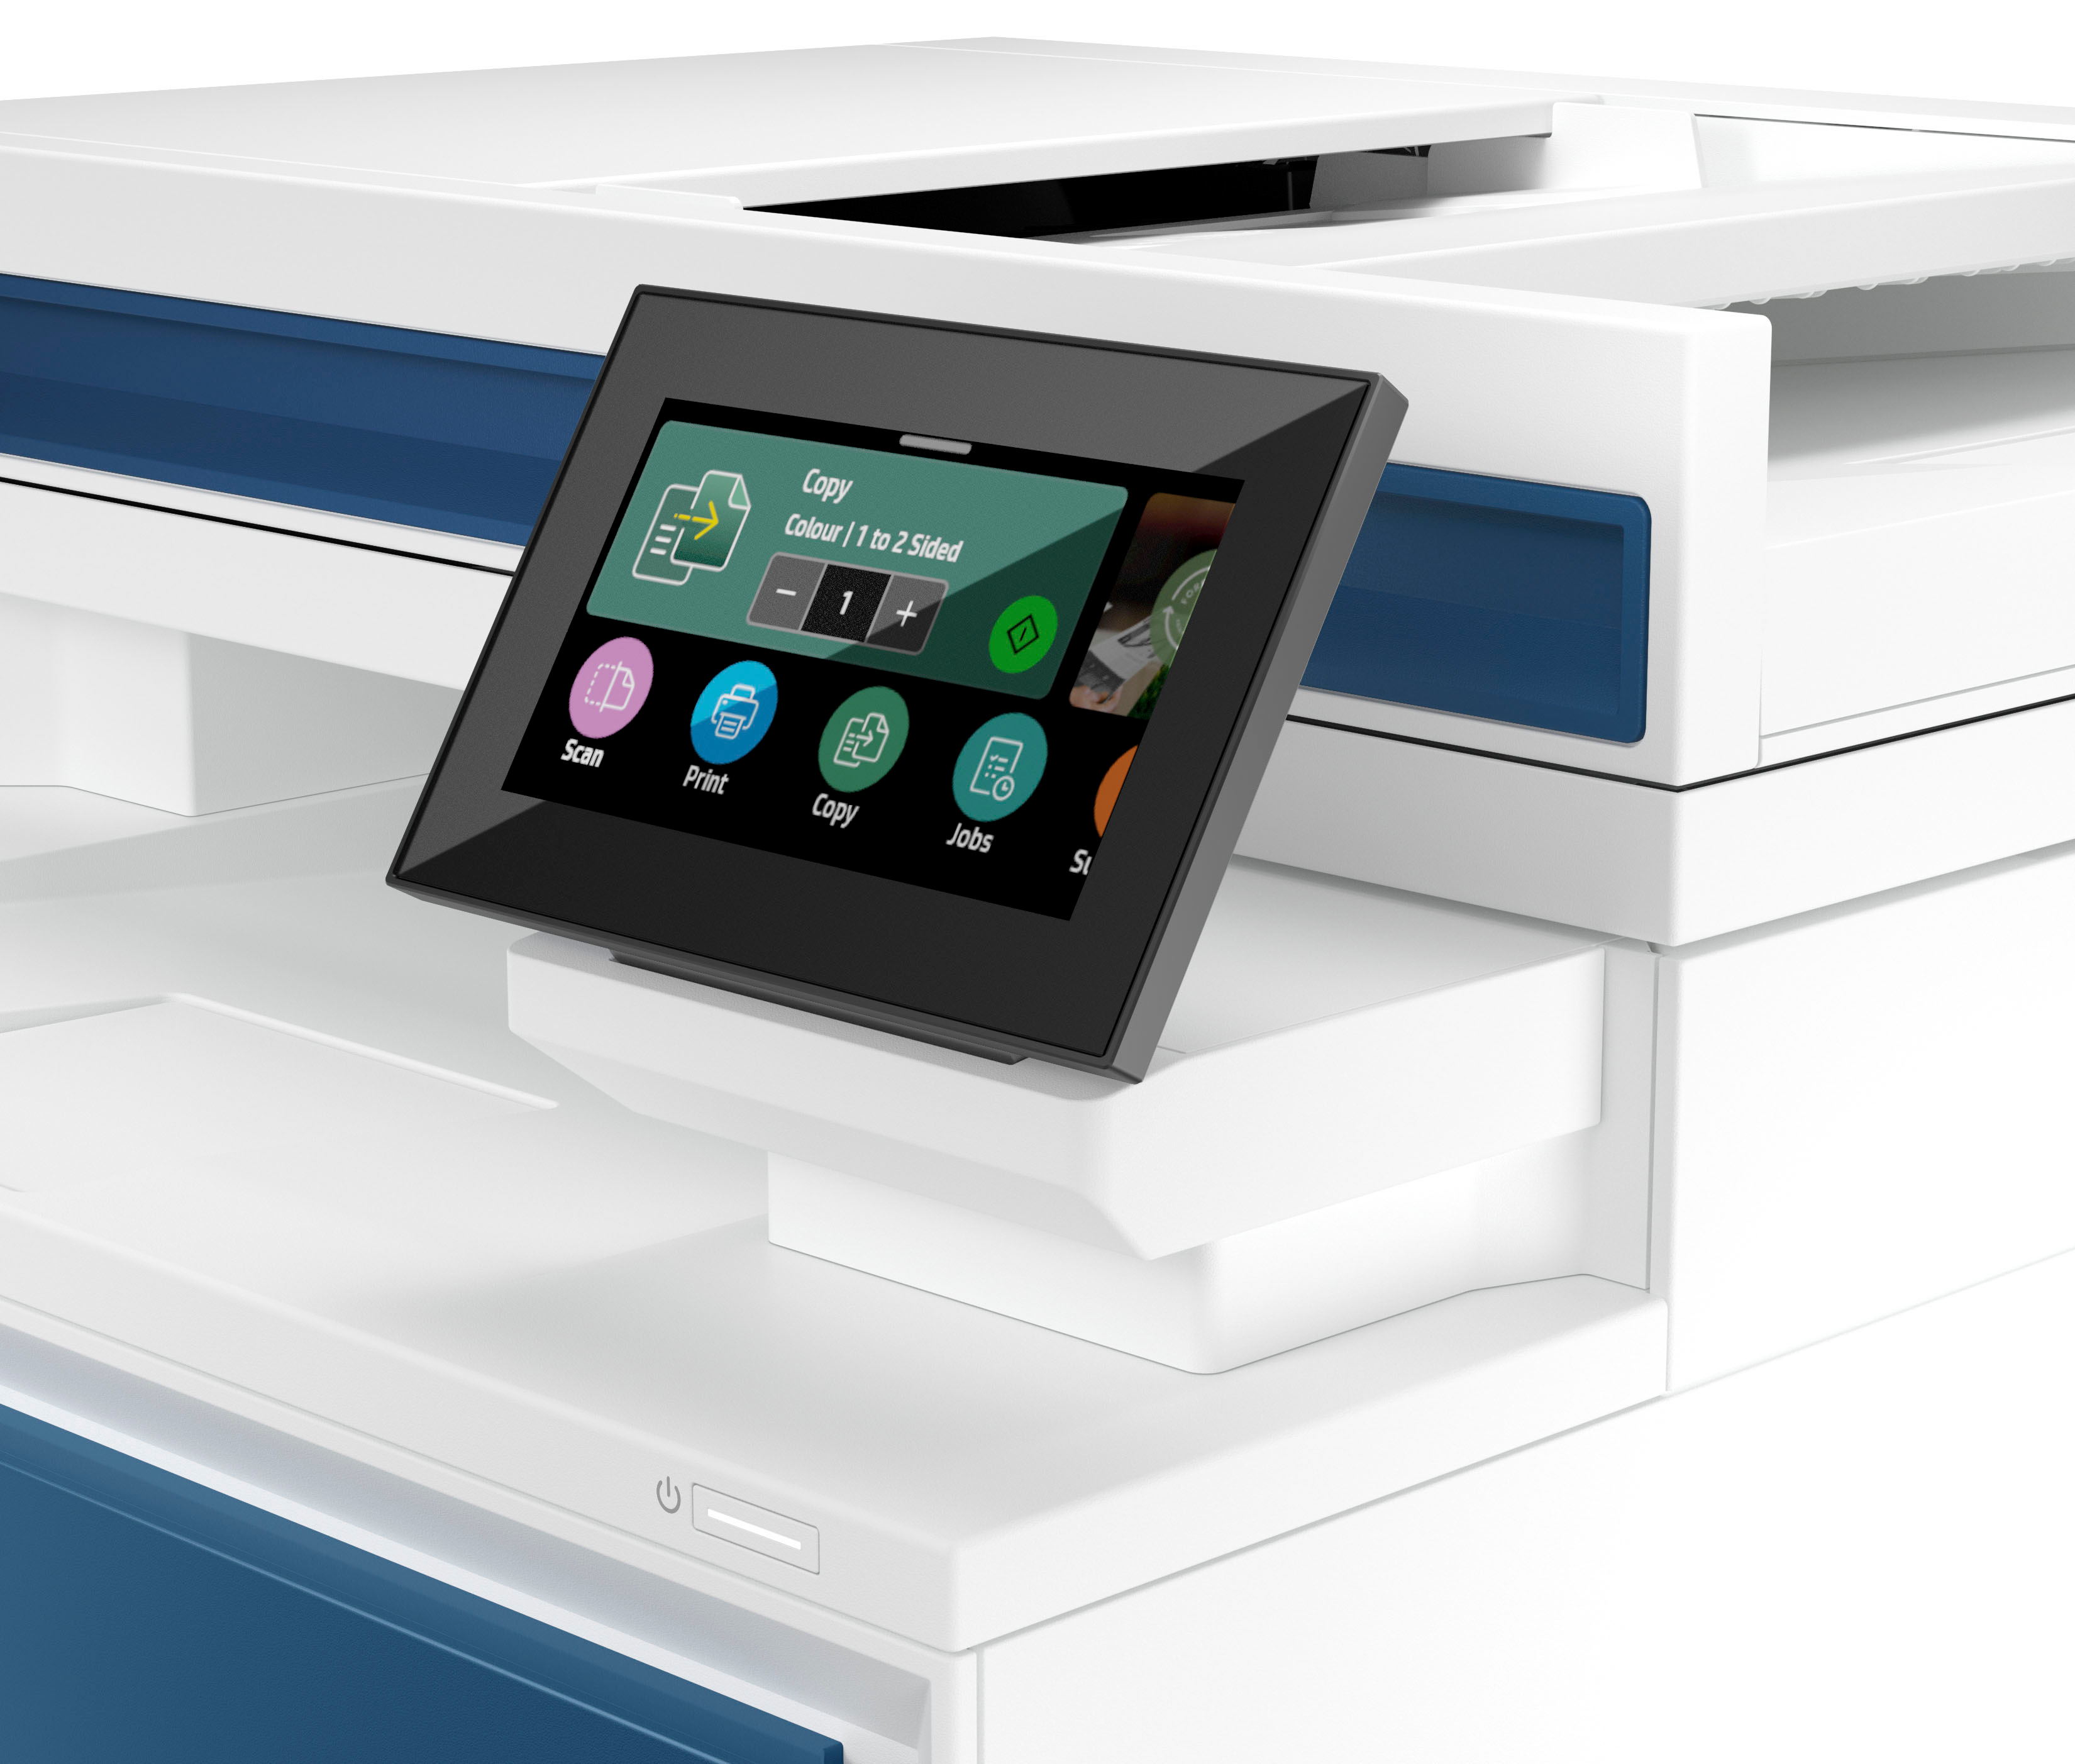
- Connect the printer to your Wi-Fi network using the printer’s display panel.
Printing Documents
- Load paper into the input tray.
- Open the document you want to print on your computer.
- Select “Print” from the file menu.
- Choose the HP LaserJet Pro 4301fdw as your printer.
- Adjust any printing settings as needed (e.g., number of copies, paper size).
- Click “Print” to start the printing process.
Scanning Documents
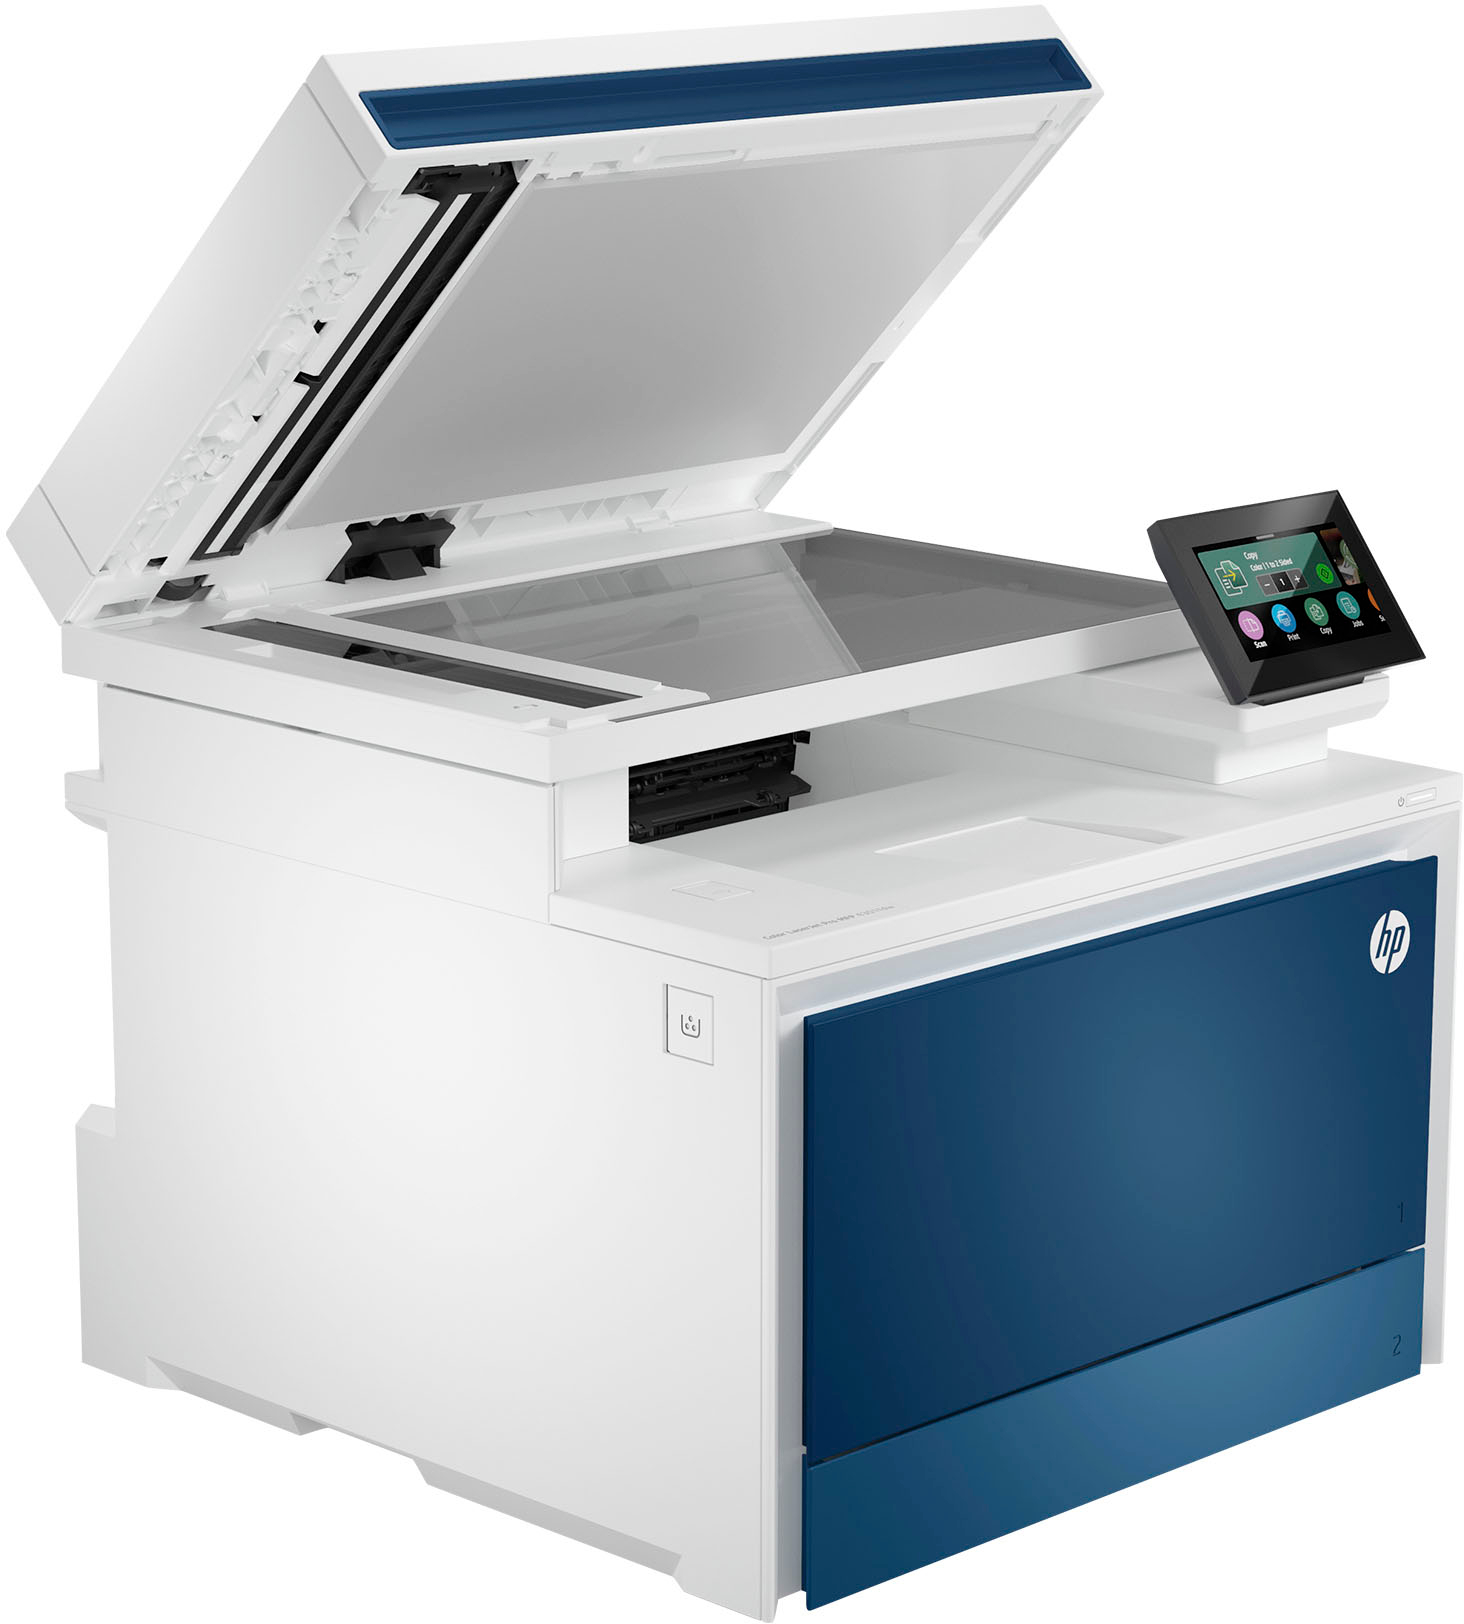
- Place the document face-down on the scanner glass or face-up in the automatic document feeder.
- Press the “Scan” button on the printer’s control panel.
- Choose your desired scan options (e.g., color, resolution).
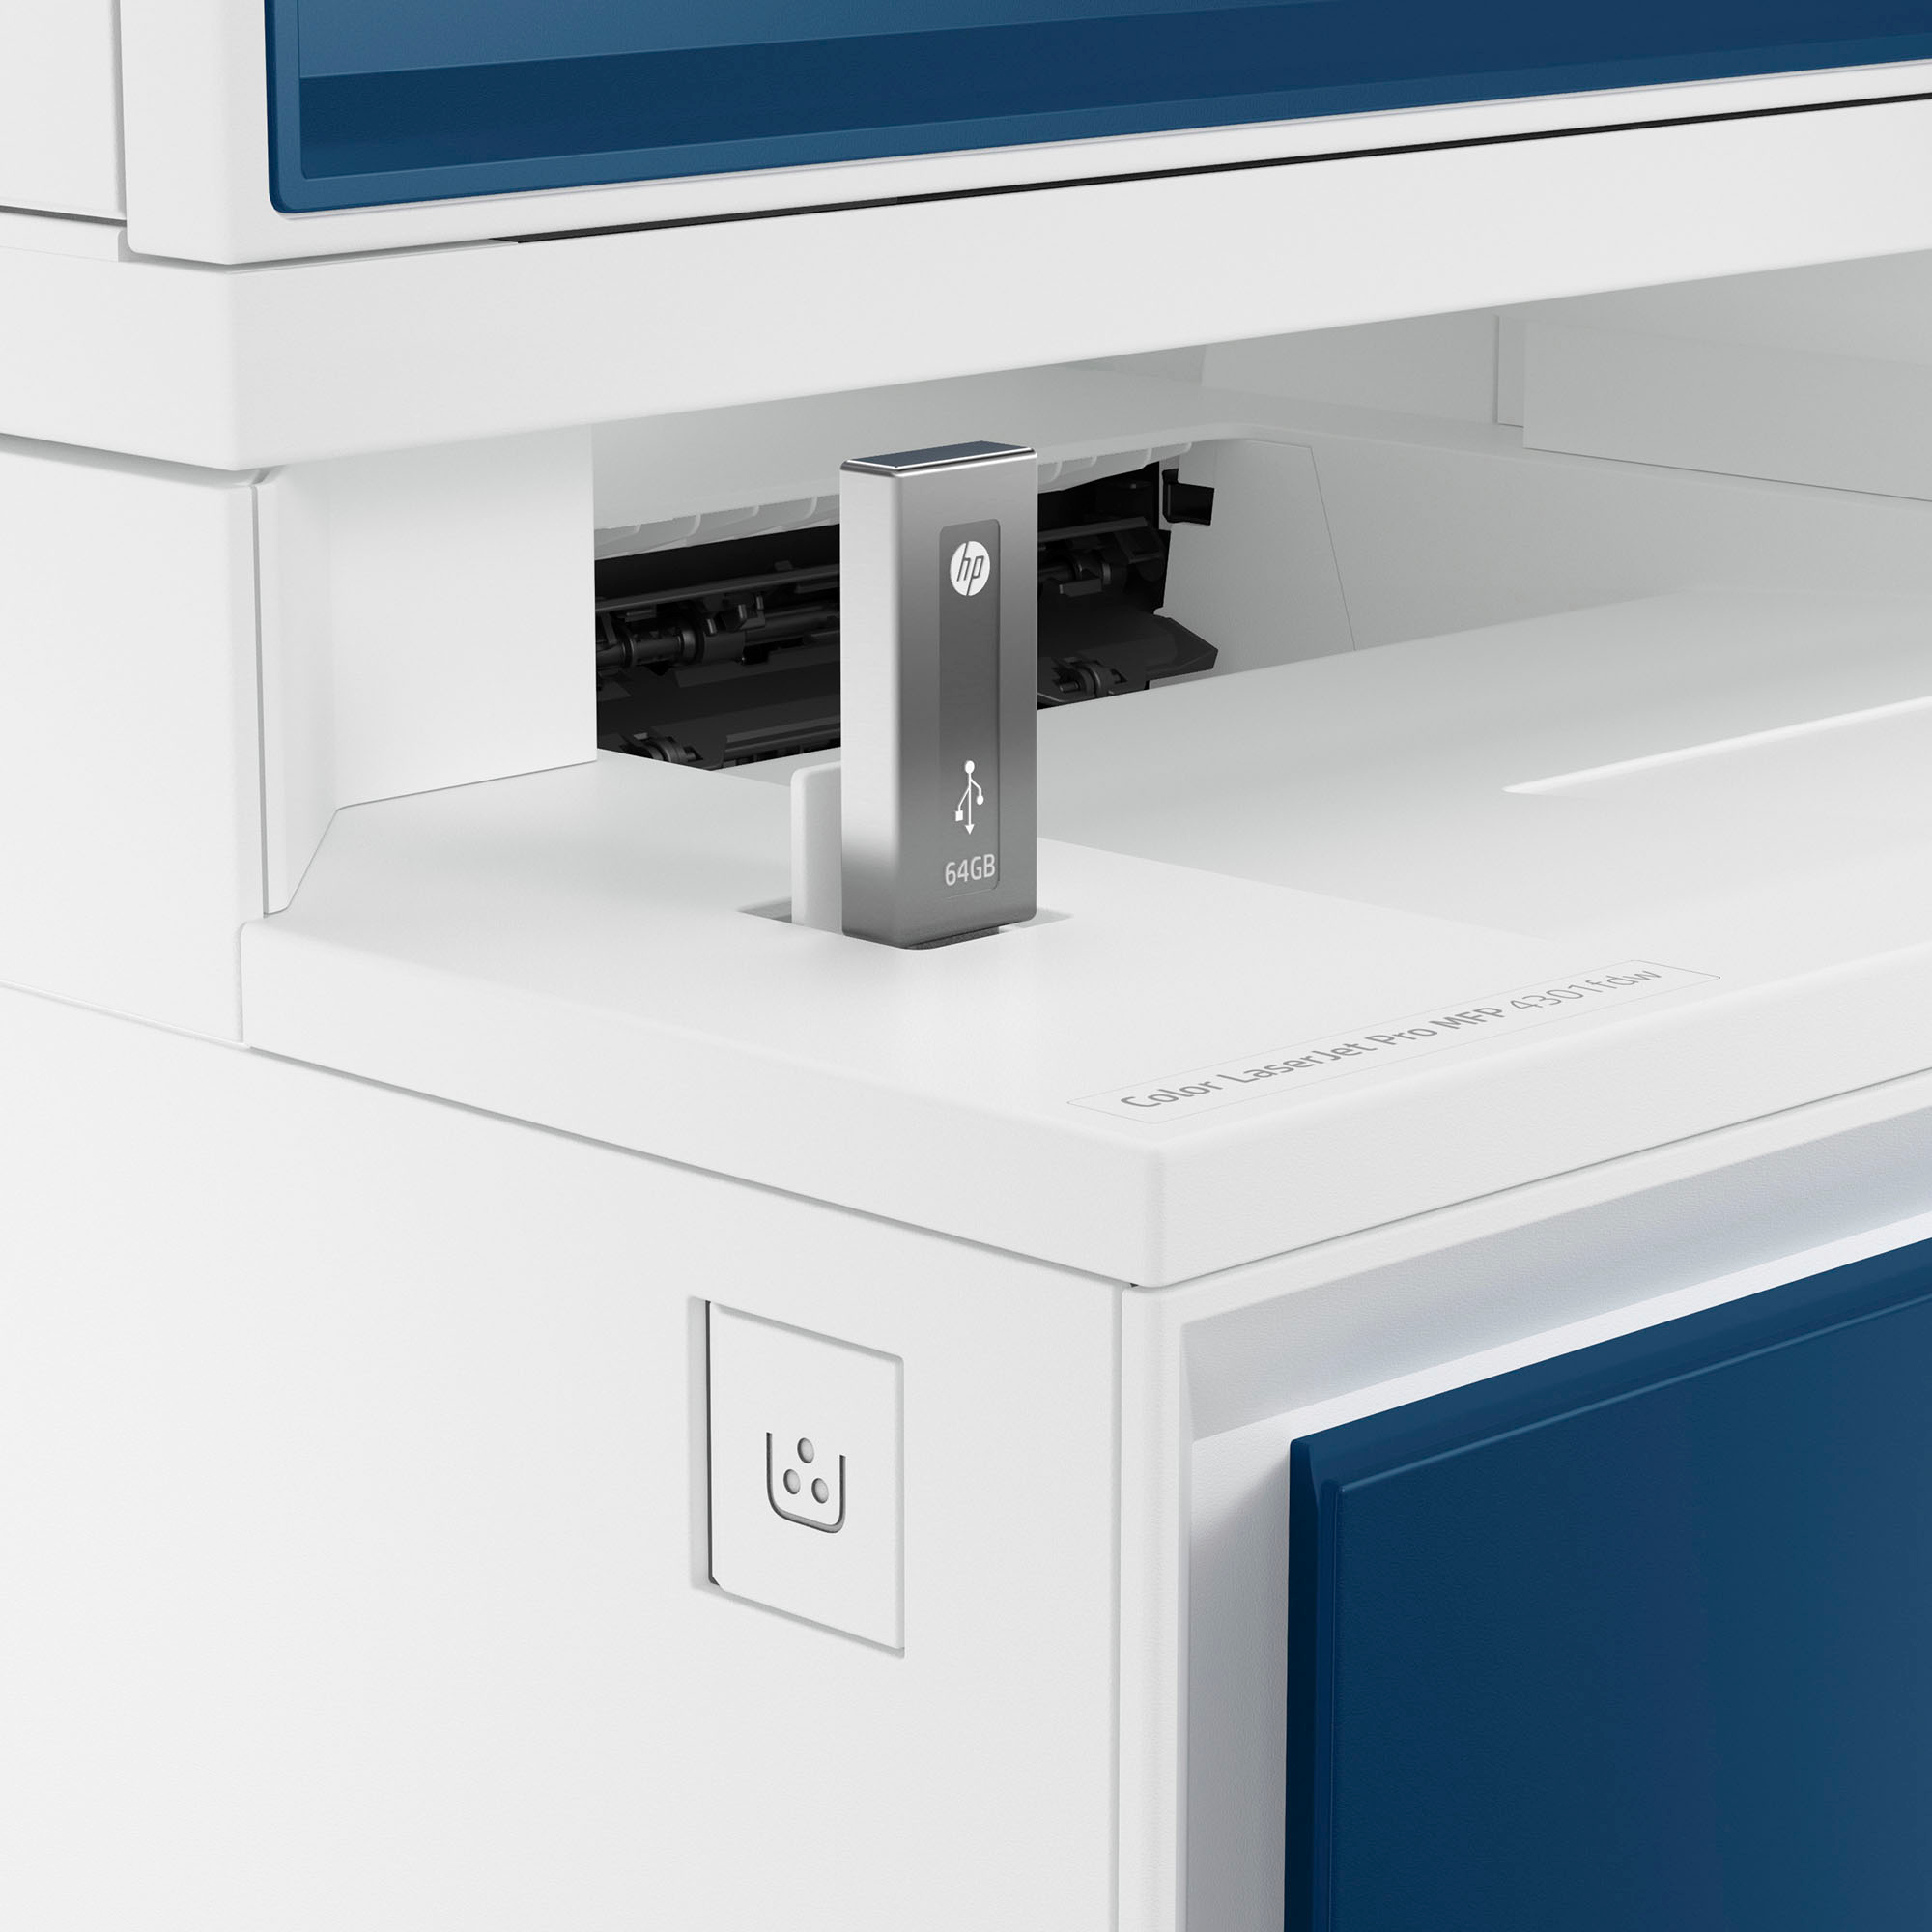
- Select whether you want to save the scanned document to a USB drive, email, or computer.
- Click “Start Scan” to begin scanning the document.
Sending a Fax
- Load the document you want to fax into the automatic document feeder.
- Press the “Fax” button on the printer’s control panel.
- Enter the recipient’s fax number using the numeric keypad.
- Adjust any fax settings (e.g., resolution, contrast).
- Press “Start” to send the fax.
, , HP