

![TRONXY Mini 3D Printer, Fast Assembly, Direct Drive, 180*180*180mm, [Ships from EU/US]](https://imgaz3.staticbg.com/thumb/large/oaupload/banggood/images/E2/72/4870ac70-1e0a-482c-a59a-217870035d39.jpg)


In stock

In stock

In stock

In stock

In stock
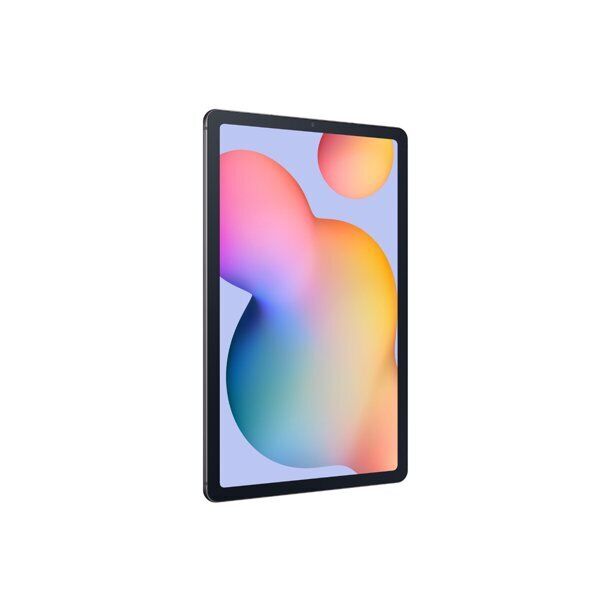
| Standing screen display size | 15.6 Inches |
|---|---|
| Screen Resolution | 1280 x 800 pixels |
| Processor | 4.7 GHz core_i7 |
| RAM | 40 GB DDR4 |
| Memory Speed | 2400 MHz |
| Hard Drive | 2 TB SSD |
| Graphics Coprocessor | Intel Iris |
| Chipset Brand | Intel |
| Card Description | Integrated |
| Wireless Type | 802.11ax |
| Number of USB 3.0 Ports | 4 |
| Brand | Acer |
| Series | Acer Aspire 5 |
| Hardware Platform | PC |
| Operating System | Windows 11 Home |
| Item Weight | 3.88 pounds |
| Product Dimensions | 14.29 x 0.7 x 9.36 inches |
| Item Dimensions LxWxH | 14.29 x 0.7 x 9.36 inches |
| Color | 40GB RAM , 2TB SSD |
| Processor Brand | Intel |
| Number of Processors | 10 |
| Flash Memory Size | 2 TB |
| Optical Drive Type | no optical |
| Batteries | 1 Lithium Ion batteries required. (included) |
In stock
In stock

In stock
In stock
In stock
In stock
| Weight | 5 lbs |
|---|---|
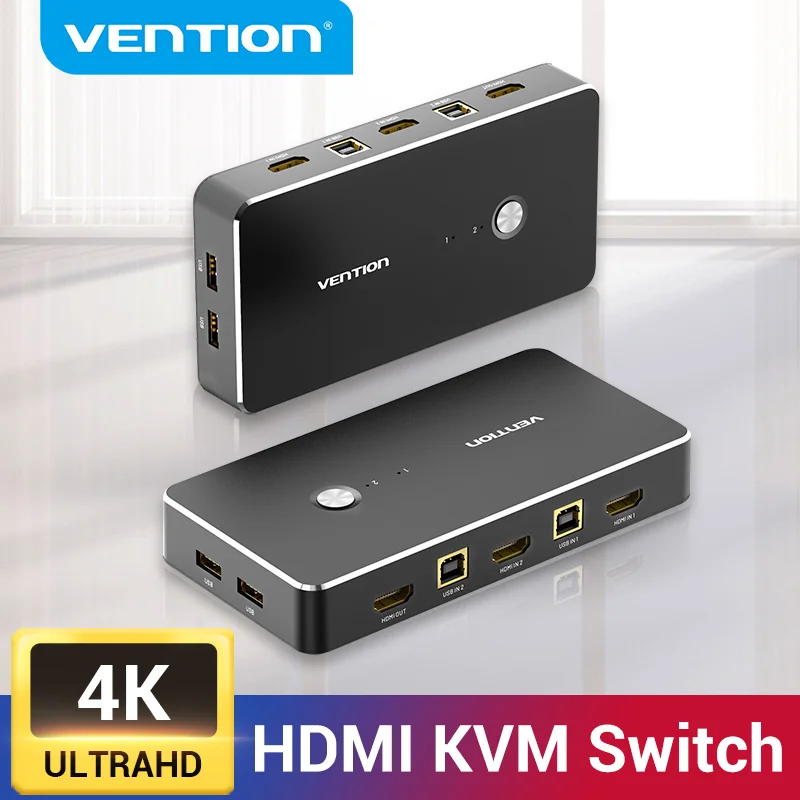
| Feature | HDMI-Compatible1.4 |
| Bundle | Bundle 1 |
| Package | Yes |
| Shielding | Combination |
| Outer Diameter | / |
| Packing | Slide Card Blister |
| Application | Computer,Monitor,Projector,Television,TV box |
| Type | HDMI-Compatible Cables |
| Connector B | USB,HDMI-Compatible |
| Connector A | VGA,HDMI-Compatible |
| Model Number | AFRB0/DBE |
| Gender | Female-Female |
| Brand Name | VEnTIOn |
| Origin | Mainland China |
| Certification | CE,RoHS,UL |
| Feature 1 | HDMI KVM Switch |
| Feature 2 | VGA KVM Switch |
| Feature 3 | KVM HDMI Switch |
| Feature 4 | KVM VGA Switch |
| Feature 5 | USB KVM Switch |
In stock

In stock
In stock

In stock

In stock
In stock
In stock

In stock
| Weight | 9 lbs |
|---|---|
| Brand | HP |
| MPN | 14-dq0055dx |
| UPC | 196548430222 |
| Manufacturer Warranty | Yes |
| Warranty - Parts | 1 year |
| Warranty - Labor | 1 year |
| Type | Laptop Computers |
| Screen Size | 14 inches |
| Processor | Intel Celeron |
| Operating System | Windows 11 Home in S Mode |
| Storage Type | eMMC |
| Maximum Resolution | 1366 x 768 (HD) |
| Color | Indigo Blue |
| GPU | Intel UHD Graphics 600 |
In stock

In stock
In stock

In stock

In stock
| Weight | 5 lbs |
|---|---|
| Processor | Intel Core i3 10th Gen. |
| Screen Size | 15.6 in |
| Graphics Processing Type | Integrated/On-Board Graphics |
| Color | Silver |
| RAM Size | 4 GB |
| MPN | 90NB0QUE-M13040 |
| SSD Capacity | 128 GB |
| Most Suitable For | Parts , Casual Computing |
| GPU | Intel UHD Graphics |
| Processor Speed | 1.20 GHz |
| Brand | Asus |
| Series | VivoBook |
| Type | Notebook/Laptop |
| Release Year | 2020 |
| Maximum Resolution | 1920 x 1080 |
| Model | ASUS VivoBook |
| Connectivity | microSD Card Slot , HDMI , USB 2.0 , USB-C , USB 3.1 |
| Hard Drive Capacity | 128 GB |
| Operating System | Windows 10 |
| Features | Bluetooth , Built-in Webcam , Wi-Fi , Multi-Touch Trackpad , Backlit Keyboard , Built-in Microphone |
| Storage Type | SSD (Solid State Drive) |
| Item Width | 14.1 in |
| Item Weight | 3.7 lbs |
| UPC | 0192876920305 |
In stock

In stock
No account yet?
Create an Account Out of stock


1 review for TRONXY Mini 3D Printer, Fast Assembly, Direct Drive, 180*180*180mm, [Ships from EU/US]
Clear filtersThere are no reviews yet.