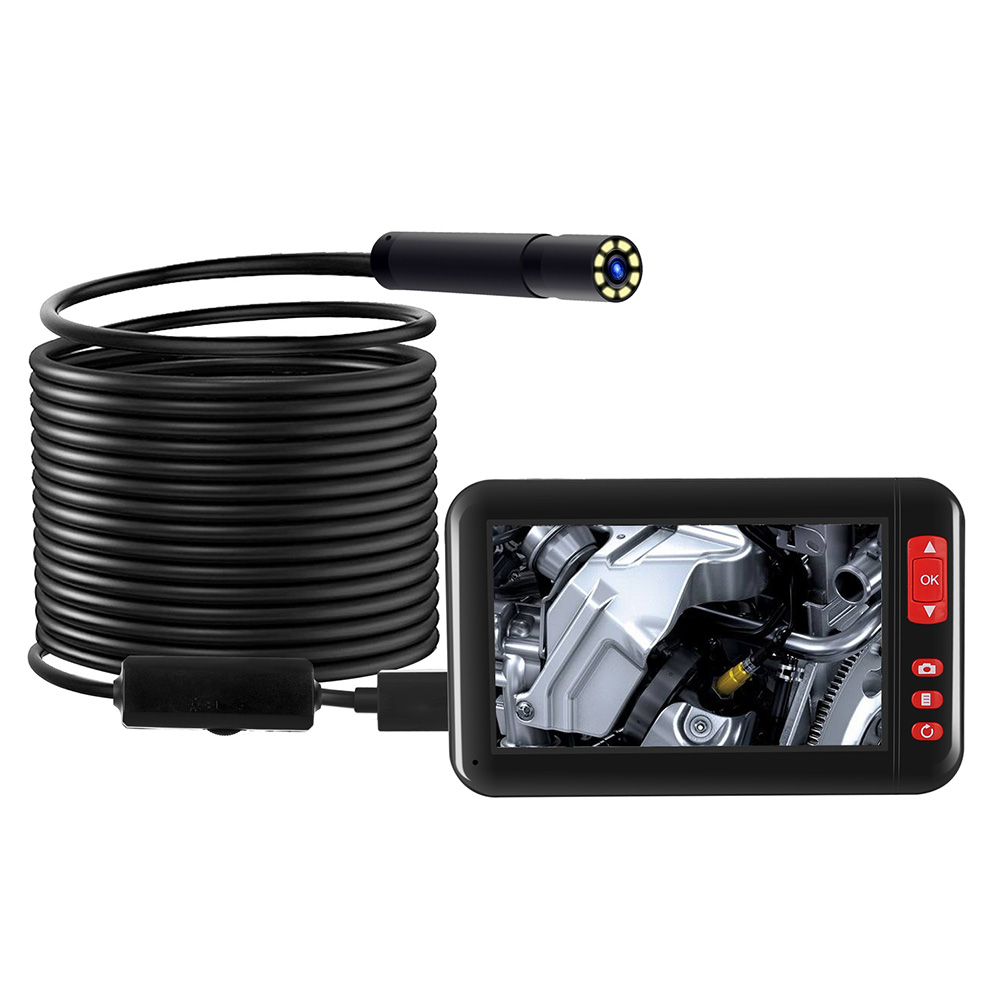
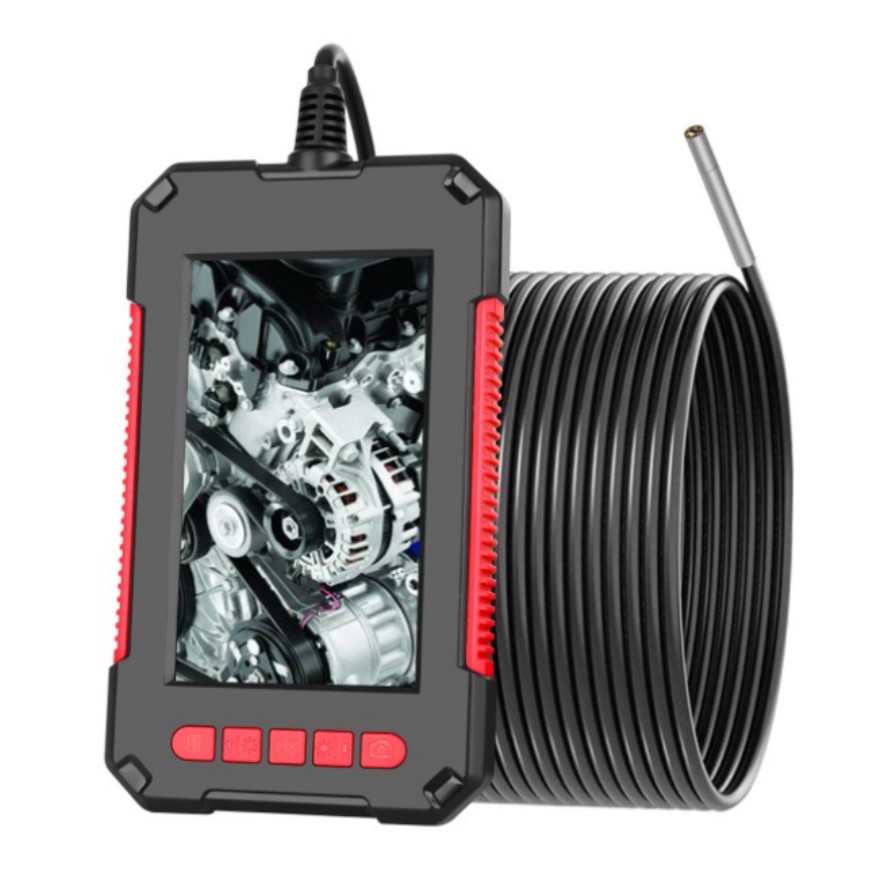


Handheld Industrial Borescope with Waterproof 4.3-inch Screen and 3.9mm HD Camera, 5-meter Length,
[HOW TO USE]
Step 1: Prepare the Endoscope
- Ensure the endoscope is fully charged by connecting it to a power source with the provided USB cable.
- Insert a TF card into the TF card slot, if you want to capture photos or record videos.
- Make sure the endoscope lens is clean before use.
Step 2: Power On
- Press and hold the power button located on the endoscope handle until the screen lights up.
- The display will show the live feed from the endoscope camera.
Step 3: Adjusting LED Lights
- Use the “LED Light” adjustment buttons (marked with “+” and “-“) to control the brightness of the LED lights.
- Adjust the lights according to the lighting conditions of your inspection area for optimal visibility.
Step 4: Navigating the Menu
- Press the “Menu” button to access the main menu.
- Use the up and down buttons to navigate through the different options.
- Press the “OK” button to confirm your selection.
Step 5: Capture Photos
- Select the “Photo” option from the menu.
- Use the up and down buttons to adjust photo resolution if desired.
- Position the endoscope lens at the desired spot and press the “OK” button to capture a photo.
Step 6: Record Videos
- Select the “Video” option from the menu.
- Use the up and down buttons to adjust video resolution and duration if desired.
- Press the “OK” button to start recording and press it again to stop.
Step 7: Power Off
- Press and hold the power button until the screen turns off to power off the endoscope.
- Ensure the endoscope is properly stored for future use.
With these simple steps, you can effectively use the 4.3-inch Screen Waterproof Endoscope 3.9mm HD Handheld Industrial Borescope 5 meters for your inspection needs.
, ,


Reviews
Clear filtersThere are no reviews yet.