KAMRUI 4K UHD Mini PC with Windows 11 Pro, 8GB DDR4 RAM, 256GB SSD Storage, WIFI, and BT4.2,
How to Use the KAMRUI 4K UHD Mini PC
Step 1: Connecting the Mini PC
- Connect the power adapter to the Mini PC and plug it into a power outlet.
- Connect a monitor or TV to the Mini PC using an HDMI or VGA cable.
- Connect a keyboard and mouse to the Mini PC using USB ports.
- If you want to connect to the internet via Wi-Fi, make sure the Wi-Fi antenna is securely attached to the Mini PC.
- If you want to connect to the internet via Ethernet, connect an Ethernet cable to the RJ45 port on the Mini PC.
Step 2: Powering On
- Press the power button located on the Mini PC to turn it on.
- Wait for the Mini PC to boot up and load the operating system (Windows 11 Pro).
Step 3: Using the Mini PC
- Once the operating system has loaded, you can use the Mini PC like any other computer.
- Use the connected keyboard and mouse to navigate through the operating system and open applications.
- If you need to adjust the screen resolution, go to the display settings and select the resolution that best suits your monitor or TV.
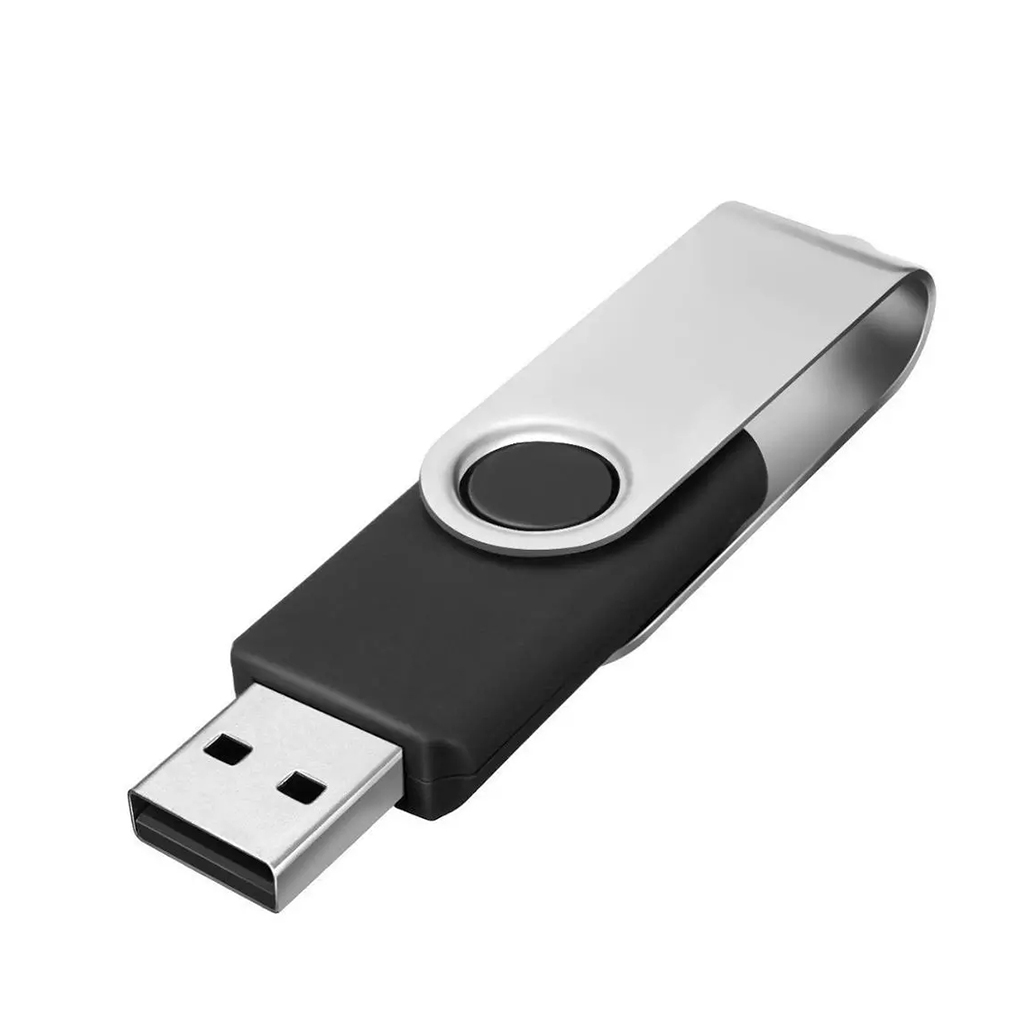
- Connect external devices like USB flash drives or external hard drives to the Mini PC to transfer files.
Step 4: Shutting Down
- To shut down the Mini PC, click on the Start button in the bottom left corner of the screen, then select “Power” and “Shut down”.
- Wait for the Mini PC to shut down completely before disconnecting any cables.
Step 5: Troubleshooting
- If you encounter any issues or have questions about using the Mini PC, refer to the user manual included in the packaging.
- If you still need assistance, contact the seller through gradezoo messages for technical support.
, , KAMRUI


Reviews
Clear filtersThere are no reviews yet.