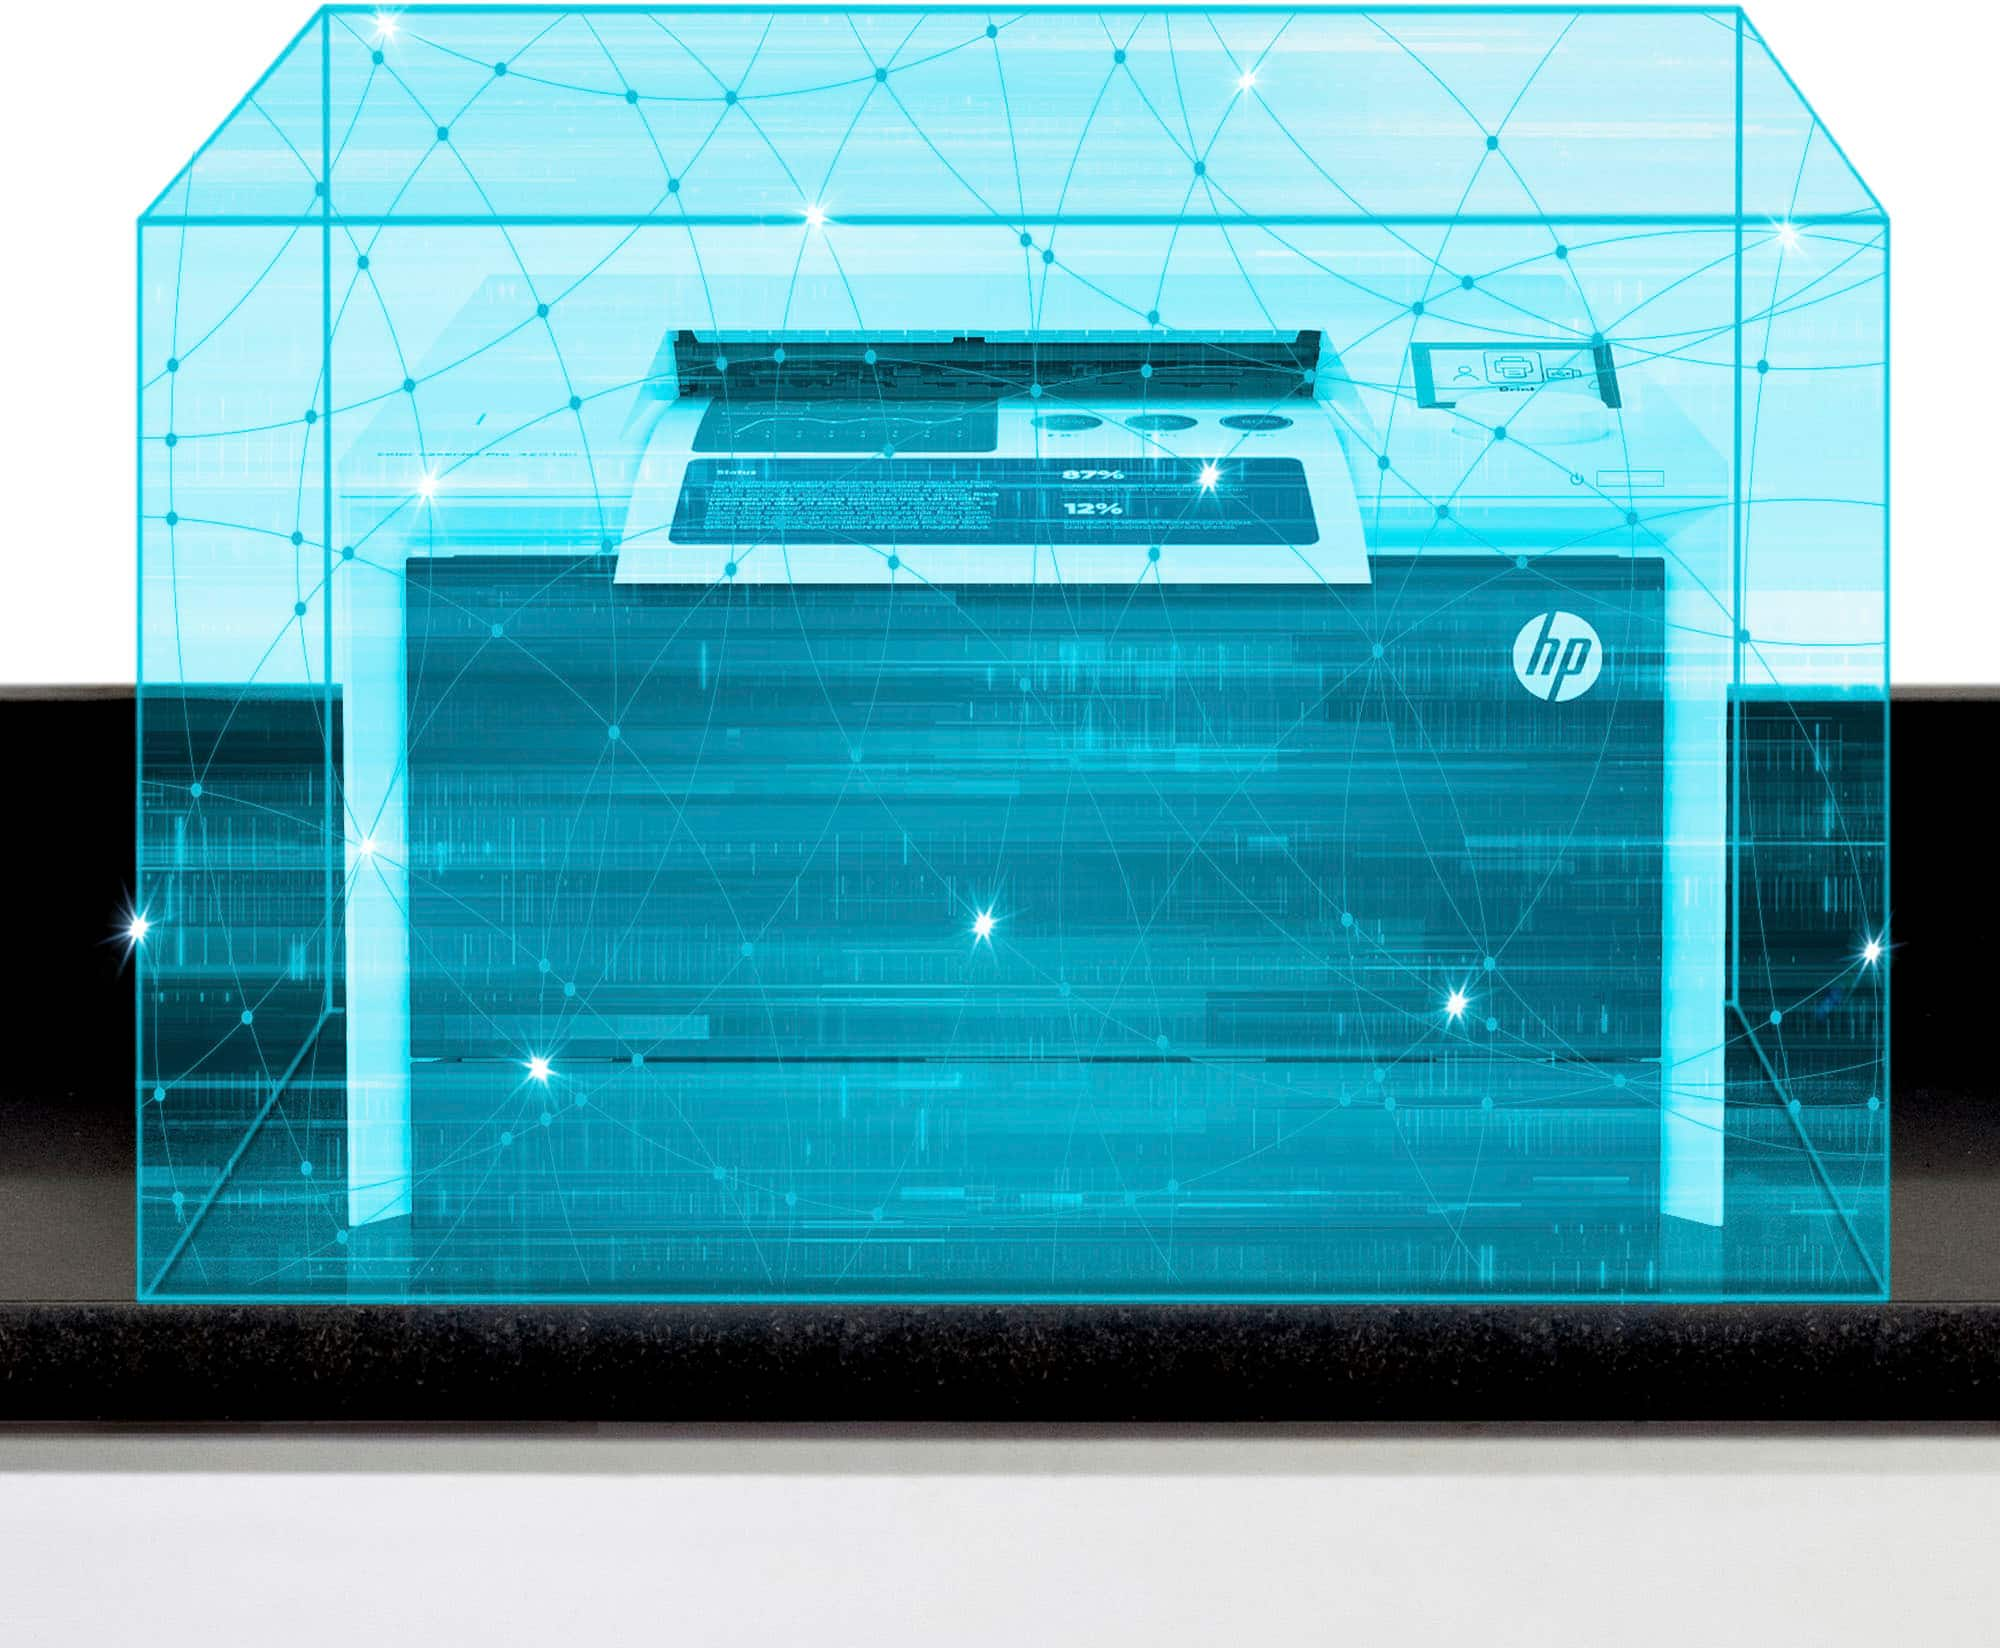
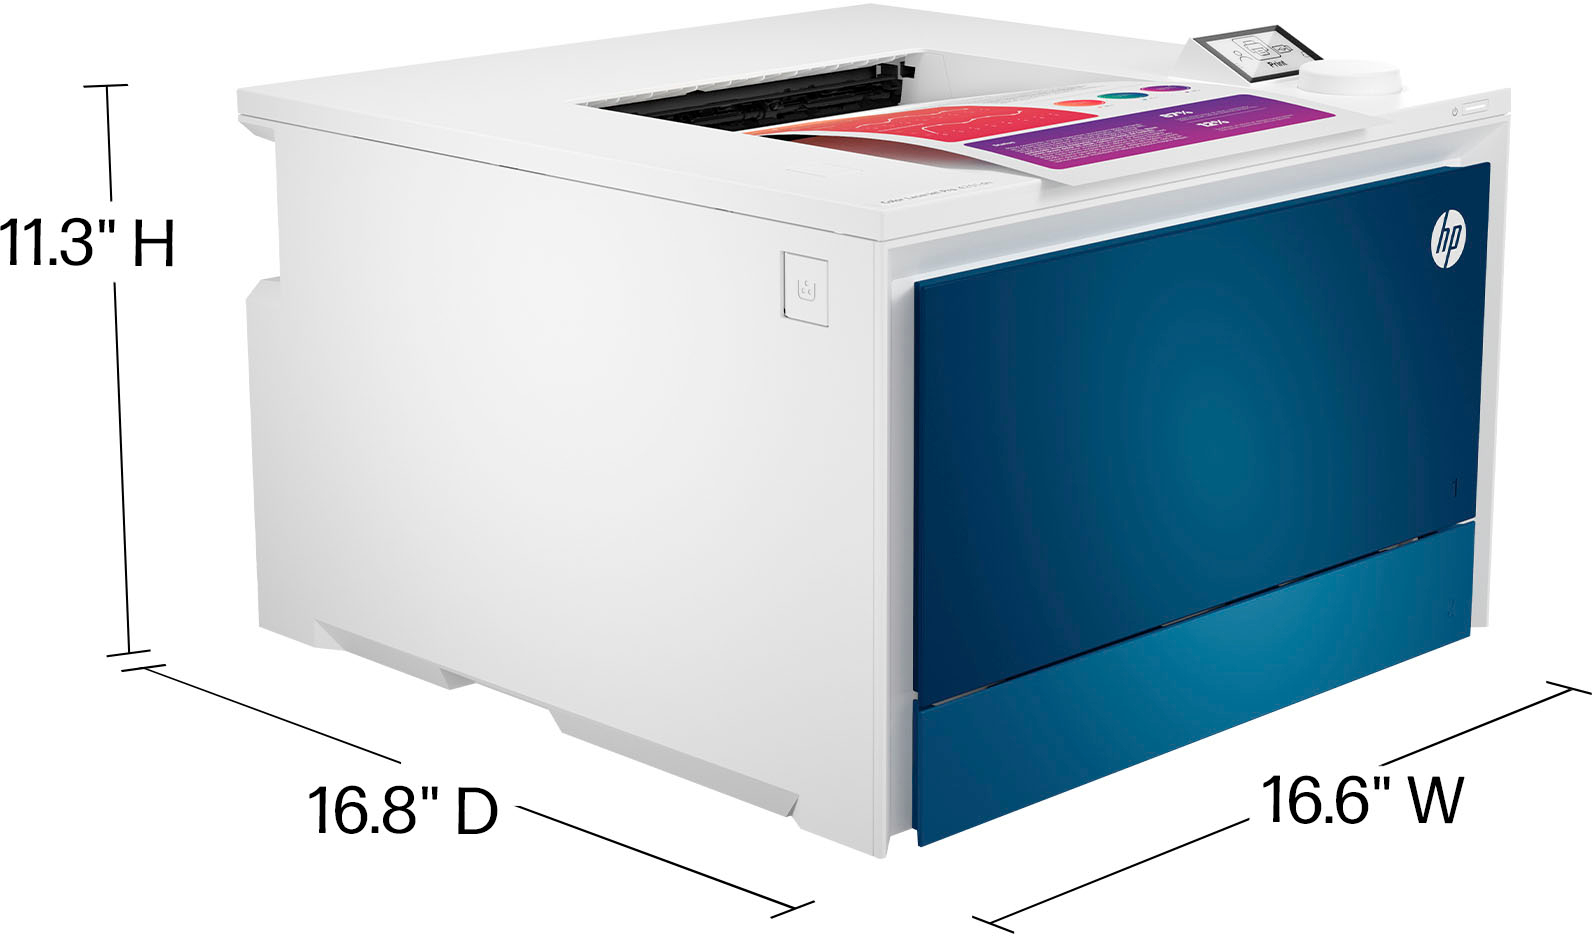
HP LaserJet Pro Color Laser Printer,
HOW TO USE
1. Setting up the Printer
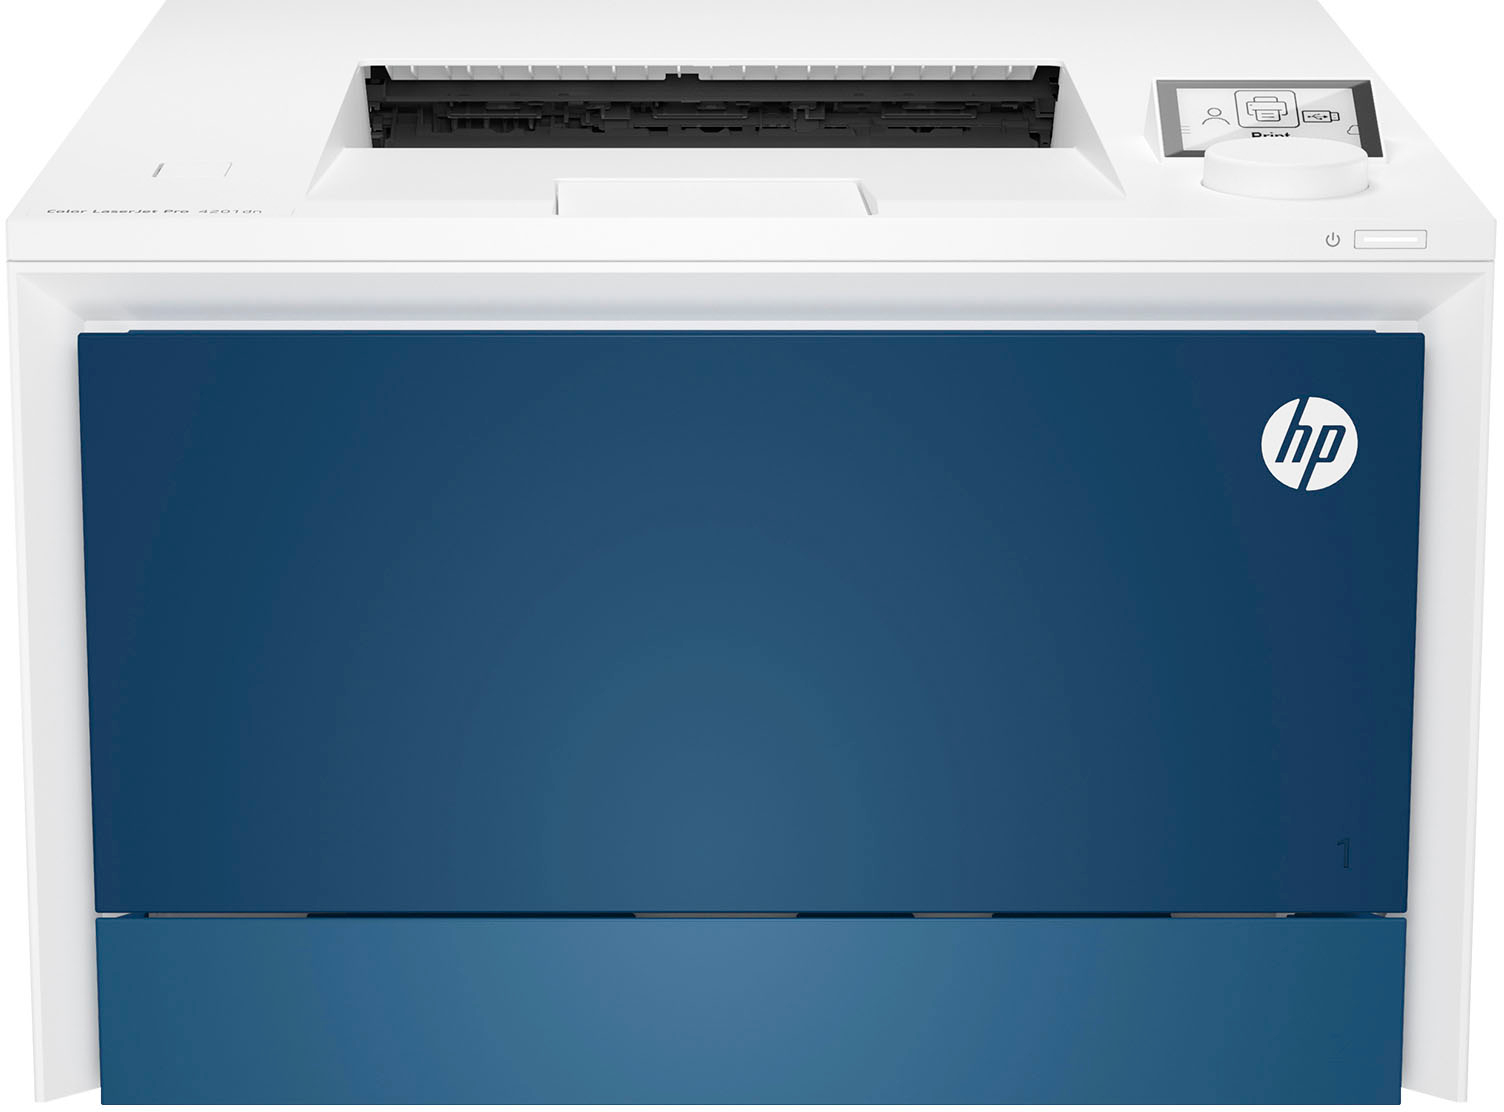
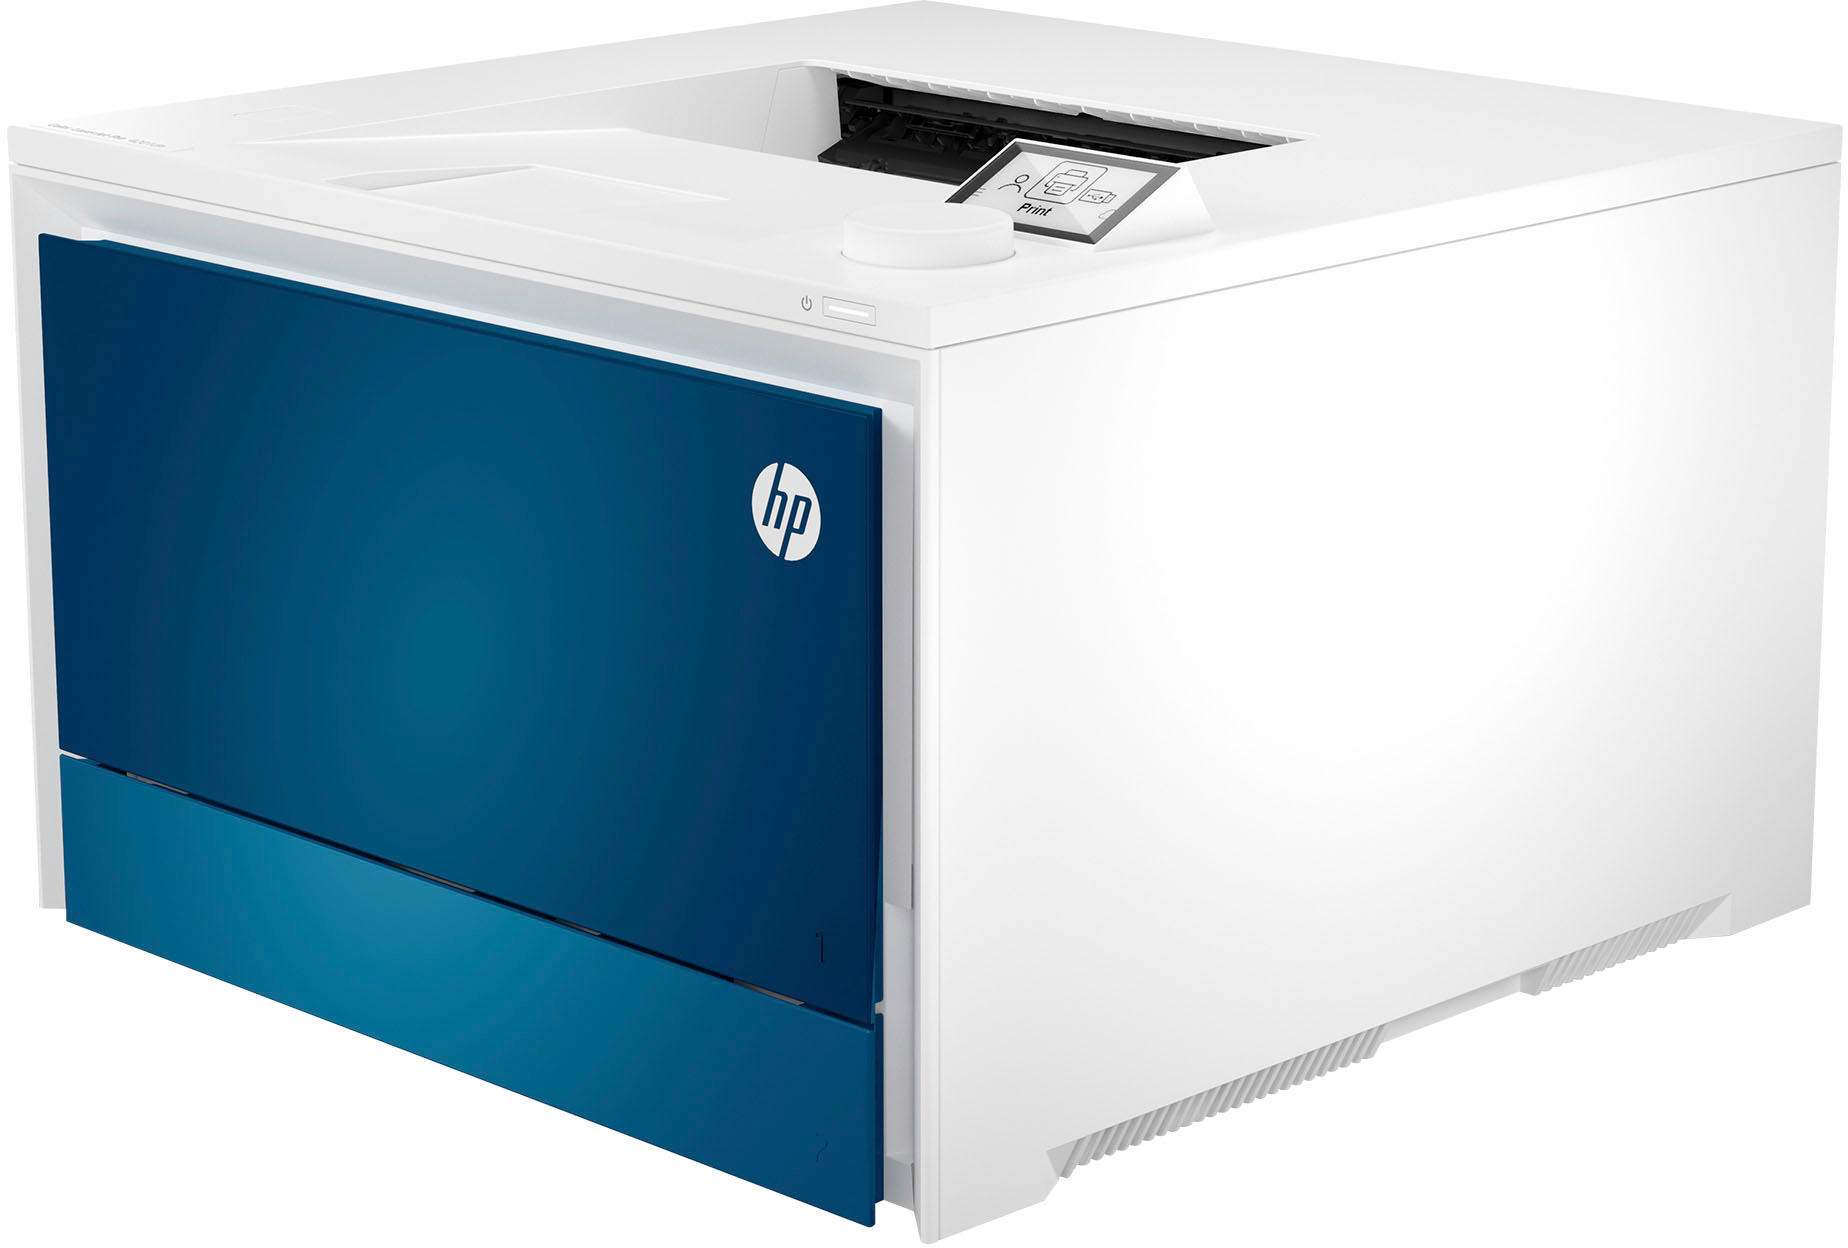
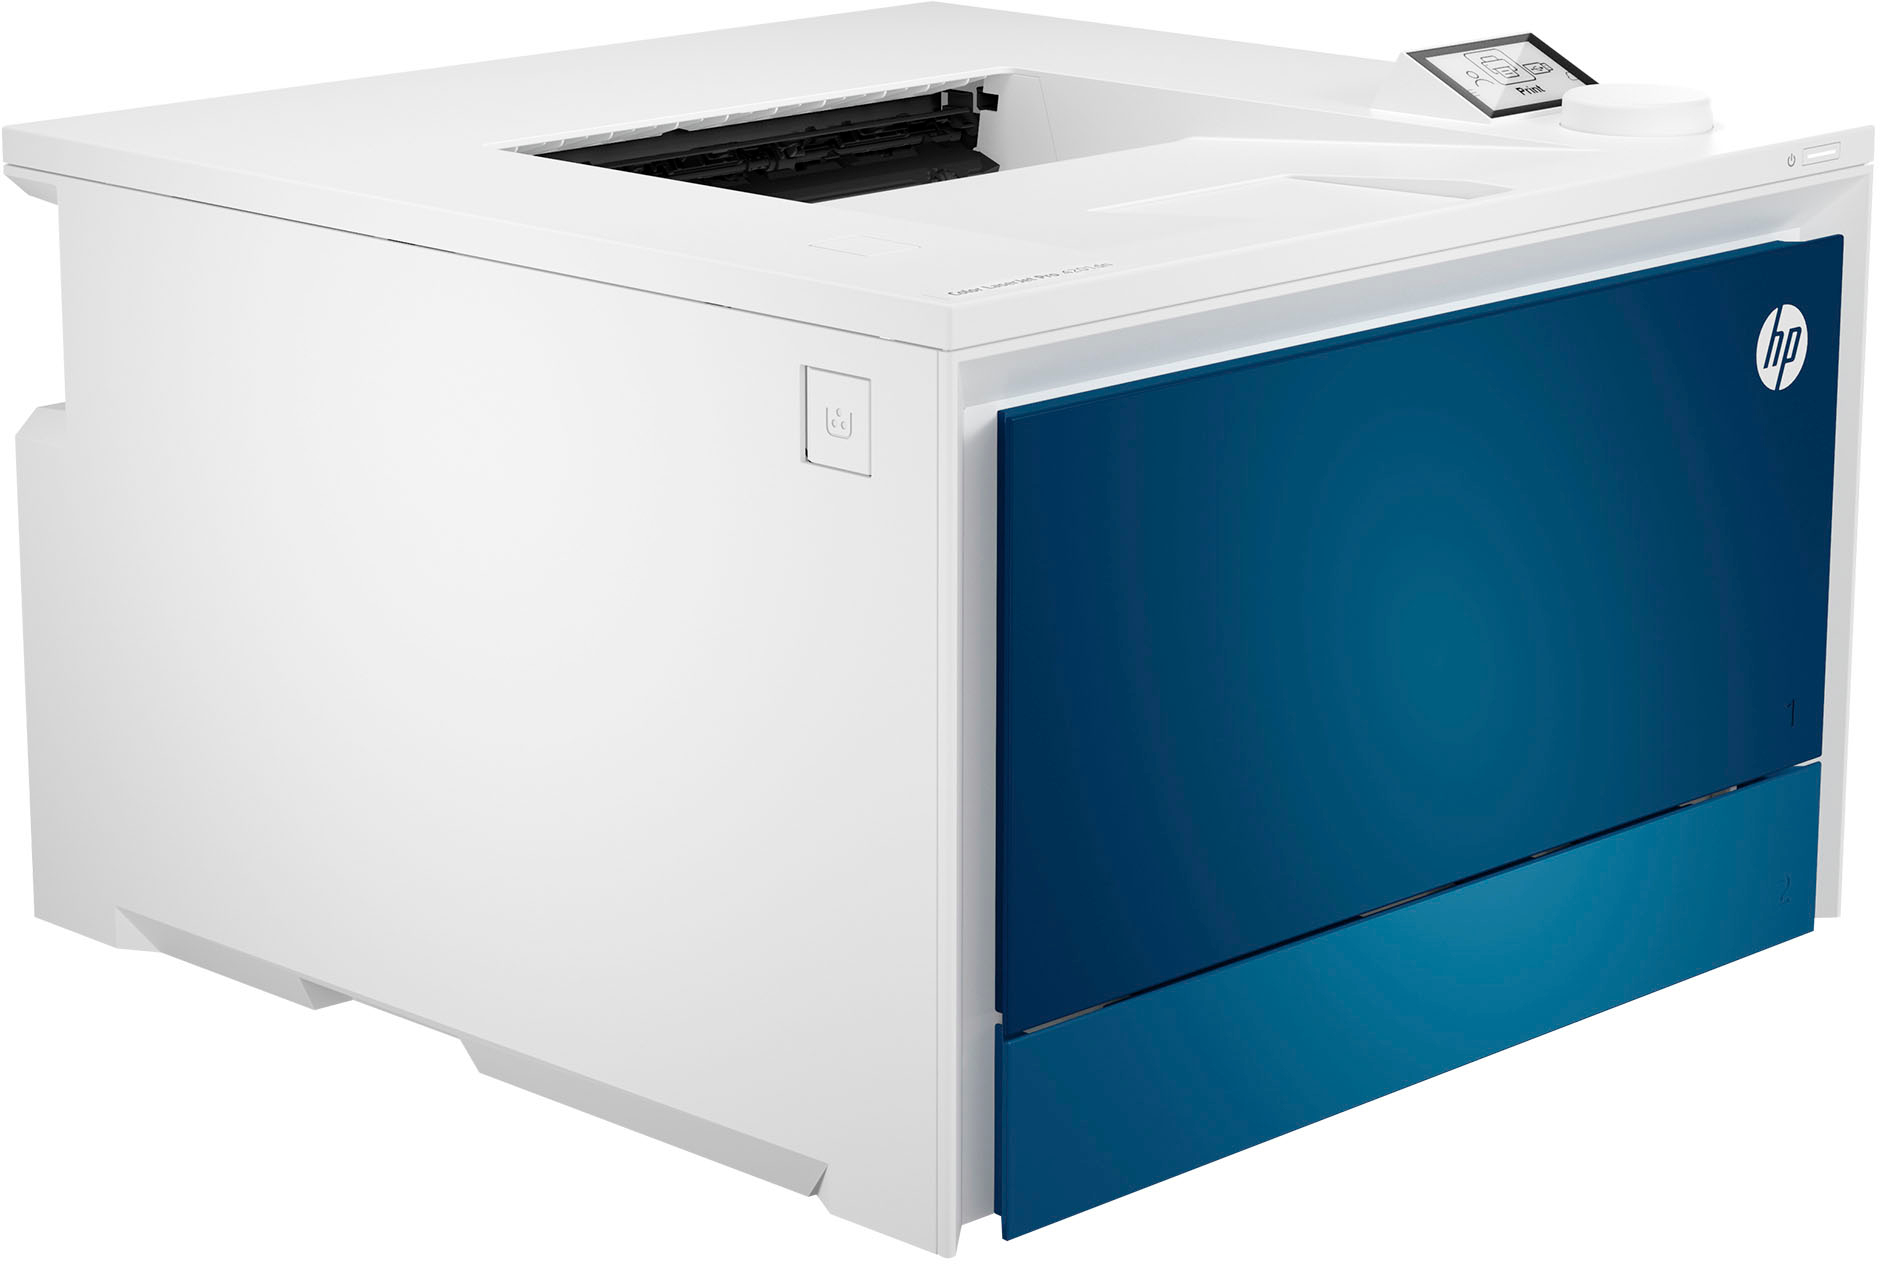
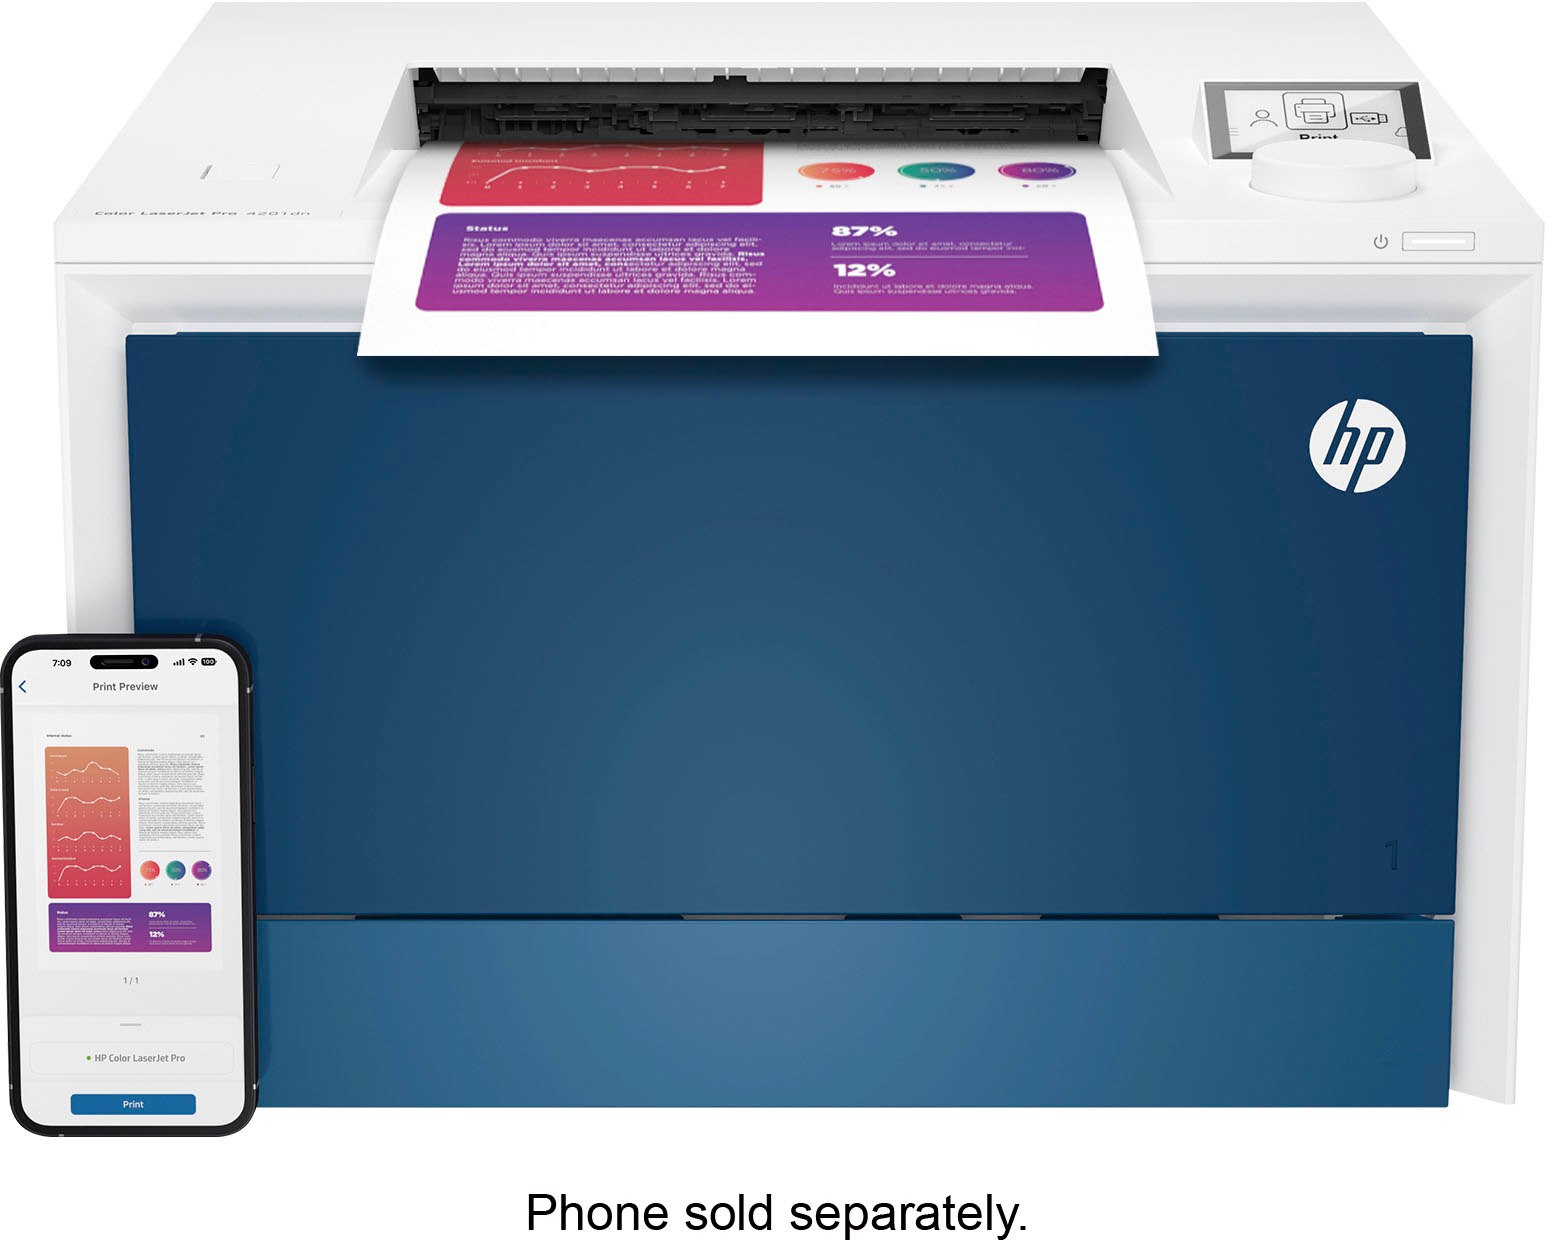
- Unbox the HP Color LaserJet Pro 4201dn Color Laser Printer.
- Remove all packaging materials and protective tapes from the printer.
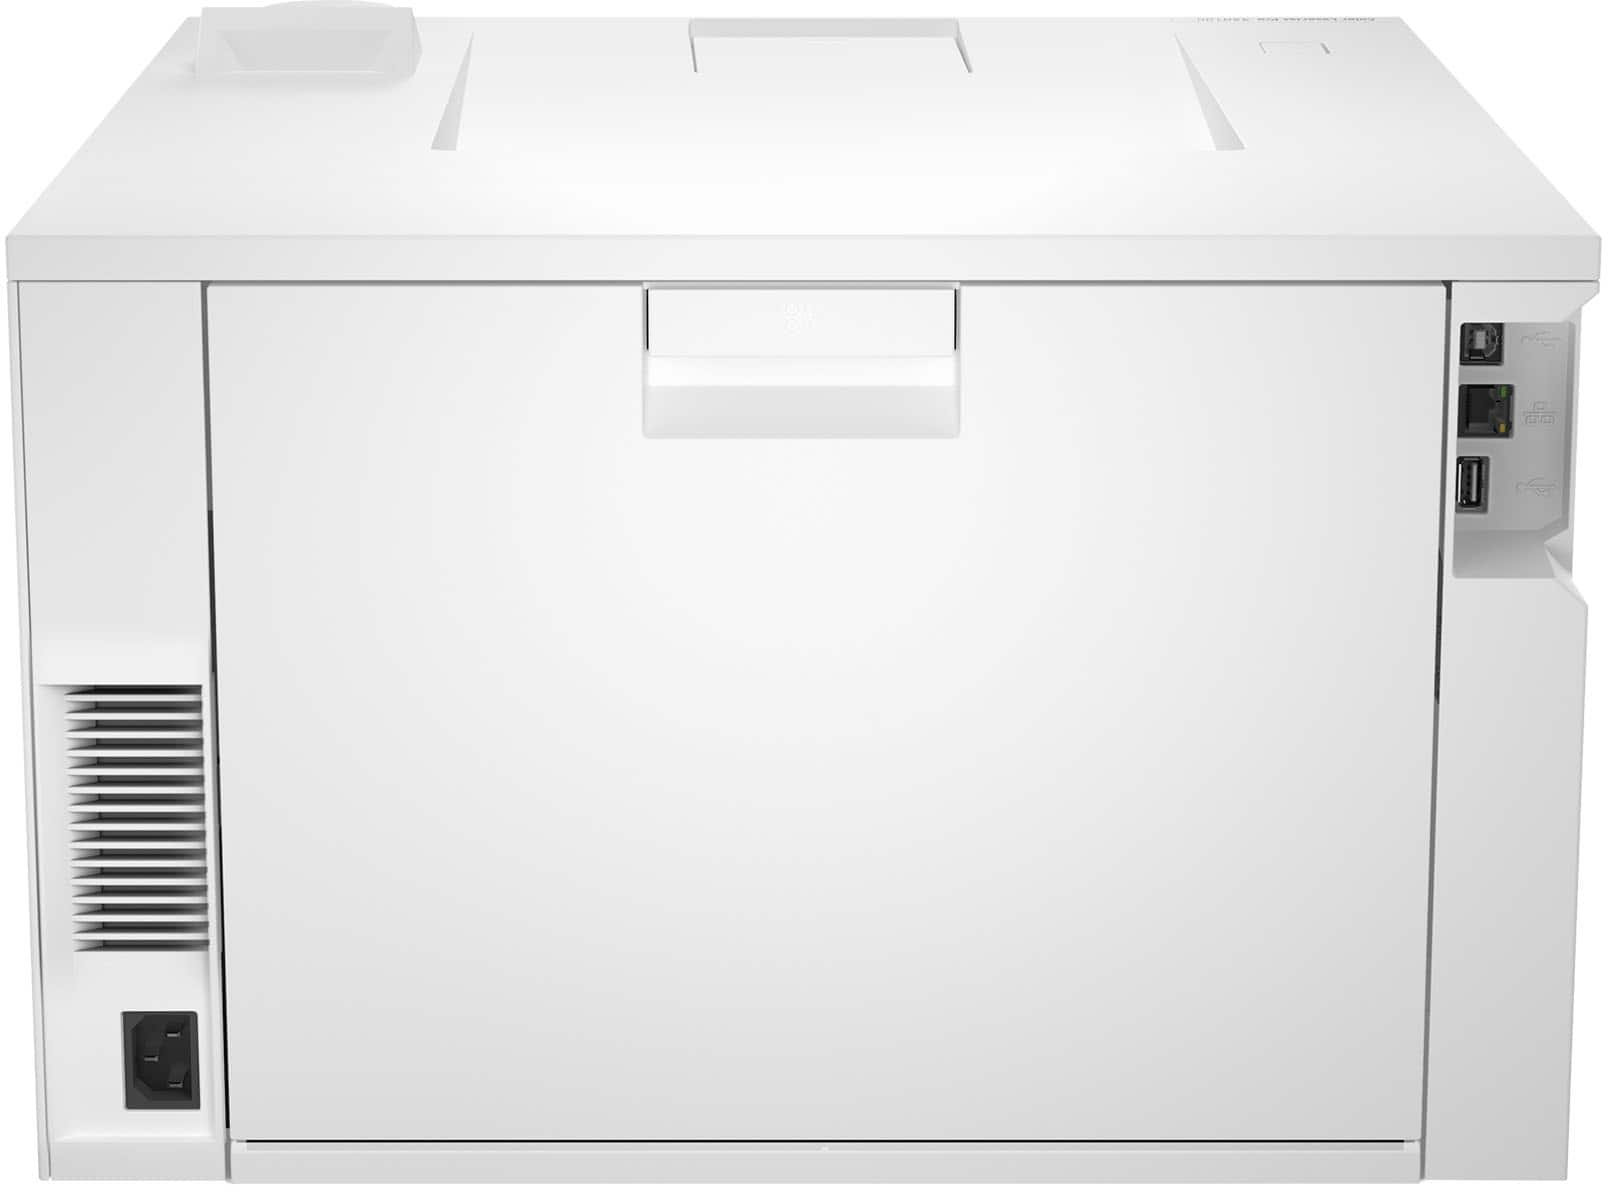
- Plug in the power cord to an electrical outlet and connect it to the printer.
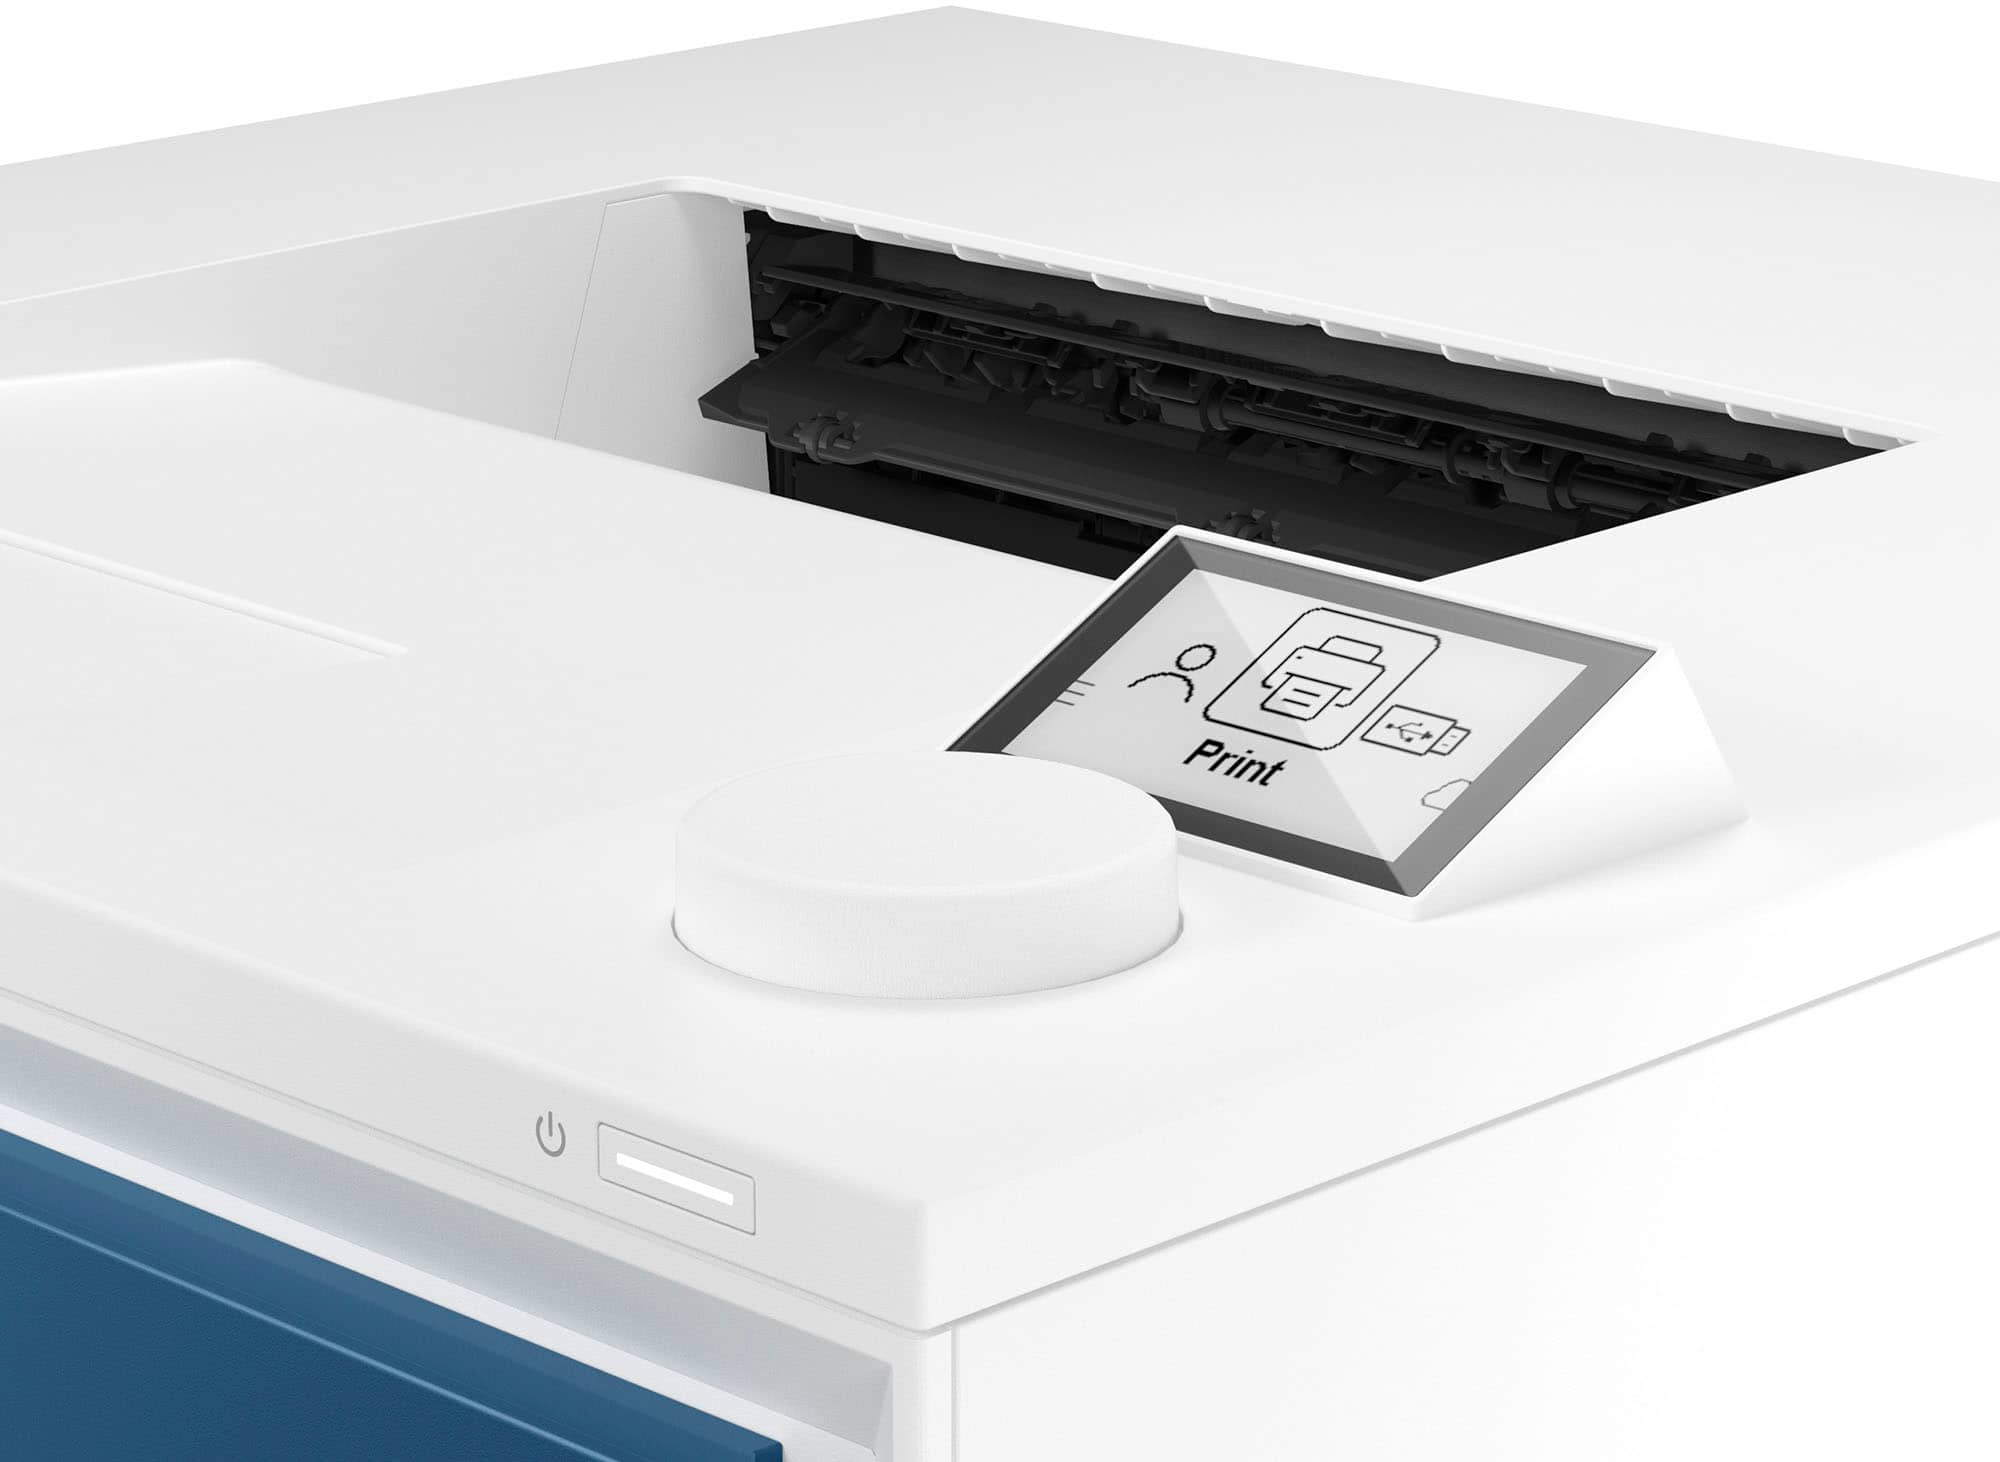
- Turn on the printer by pressing the power button.
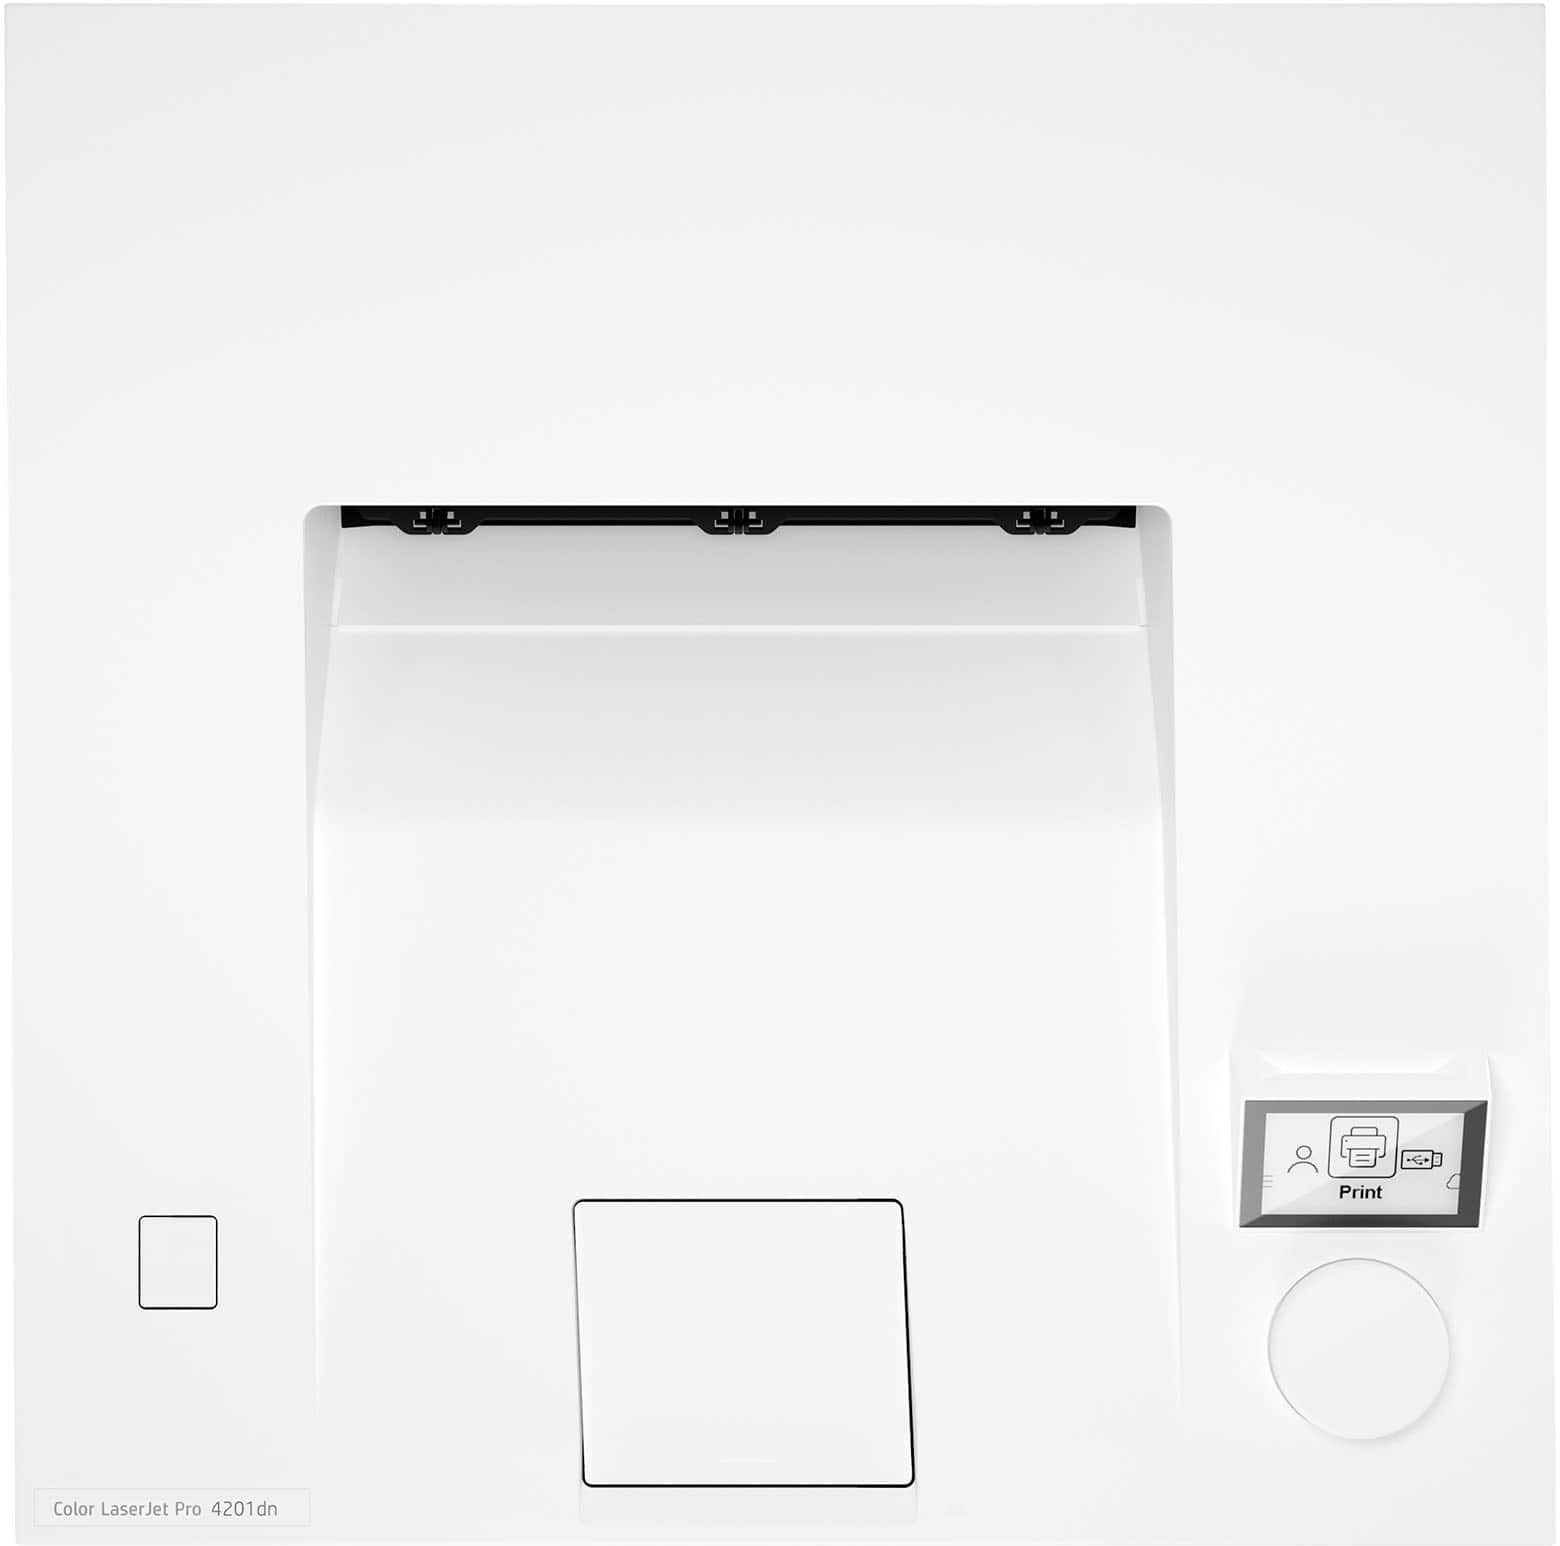
- Open the printer tray and load paper into it.
- Connect the printer to your computer using a USB cable or set it up on a network if desired.
2. Installing Printer Drivers
- Insert the provided CD or download the latest printer drivers from the HP website.
- Follow the on-screen instructions to install the printer drivers on your computer.
3. Print Settings and Configuration
- Ensure the printer is connected and powered on.
- Open the document or image you want to print on your computer.
- Select “Print” from the File menu or use the shortcut Ctrl+P.
- In the print settings window, choose the HP Color LaserJet Pro 4201dn as the printer.
- Adjust any necessary print settings such as paper size, print quality, and orientation.
- Click “Print” to start printing your document.
4. Scanning and Copying
- Place the document or photo you want to scan or copy on the scanner glass.
- Press the “Scan” or “Copy” button on the printer control panel.
- Follow the on-screen instructions to adjust the scan or copy settings such as resolution and document type.
- Press the “Start” button to initiate the scanning or copying process.
- Retrieve your scanned or copied document once the process is complete.
5. Maintenance and Troubleshooting
- Regularly clean the printer exterior and scanner glass with a soft, lint-free cloth.
- Replace any empty or low ink cartridges following the instructions in the user manual.
- If you encounter any issues or error messages, consult the user manual or contact HP customer support for assistance.
, , HP









Reviews
Clear filtersThere are no reviews yet.