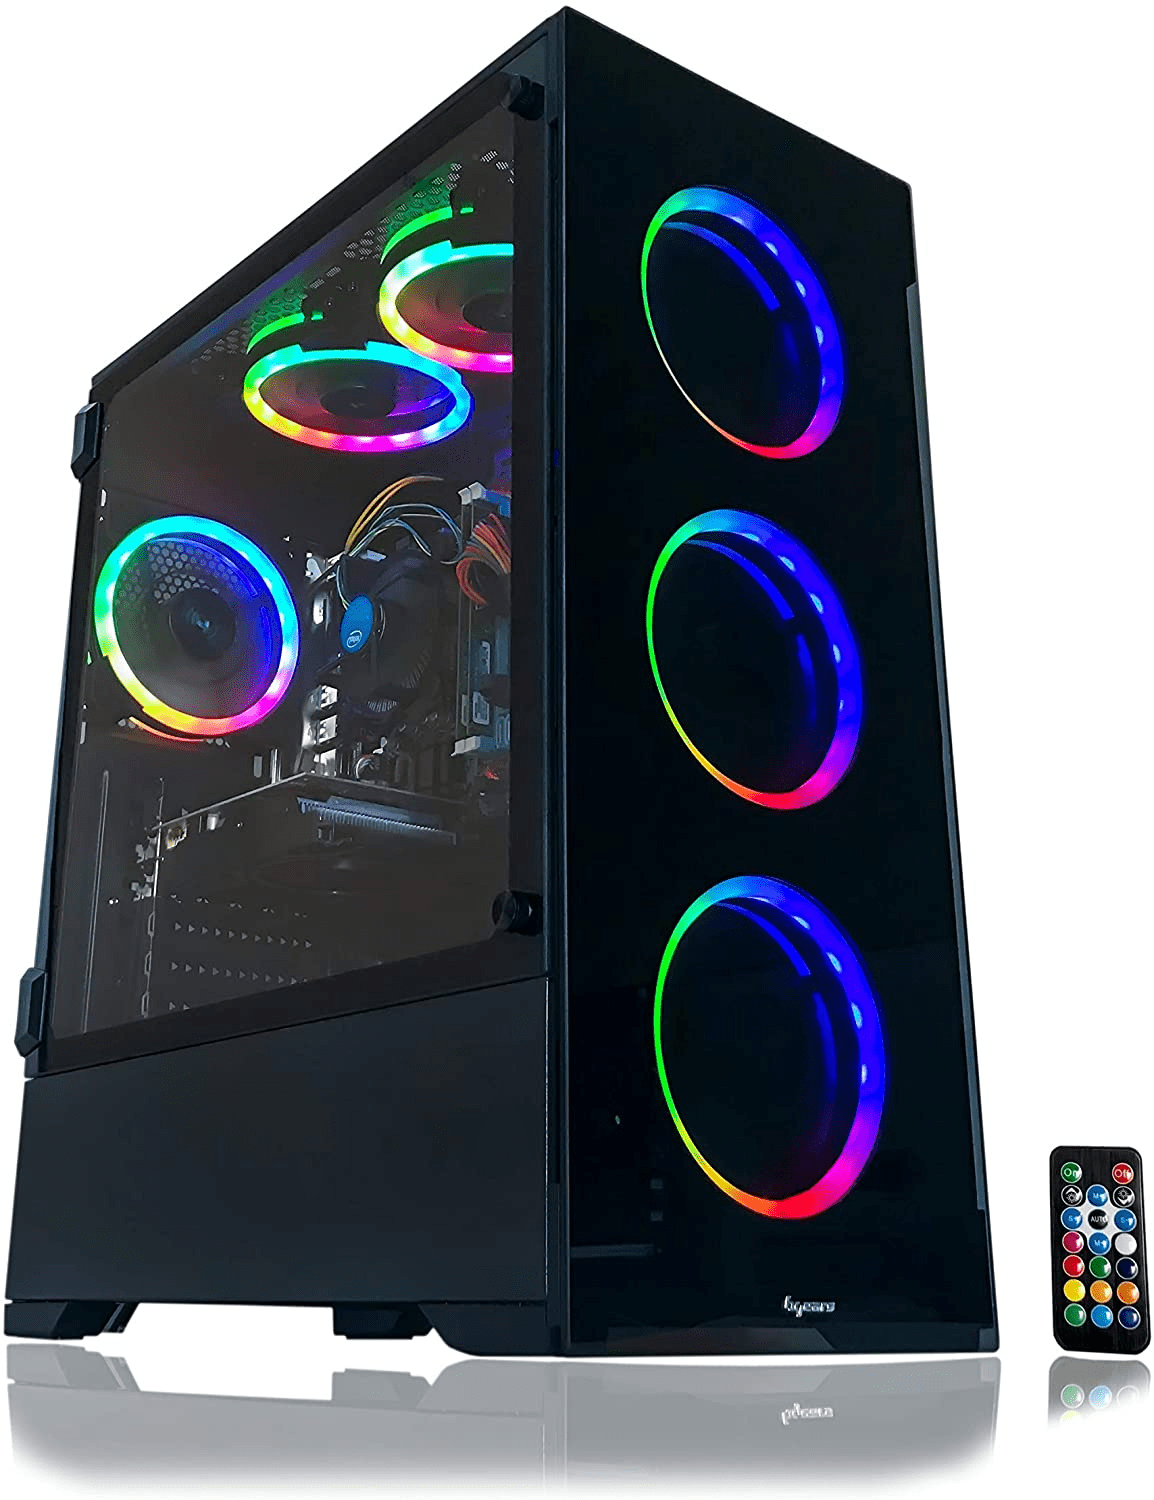
Dell OptiPlex Pro Desktop Computer,
How to Use the Dell OptiPlex Windows 10 Pro Desktop Computer PC
Step 1: Setting Up the Computer
- Unbox the computer and remove all packaging materials.
- Connect the power cord to the computer and a power outlet.
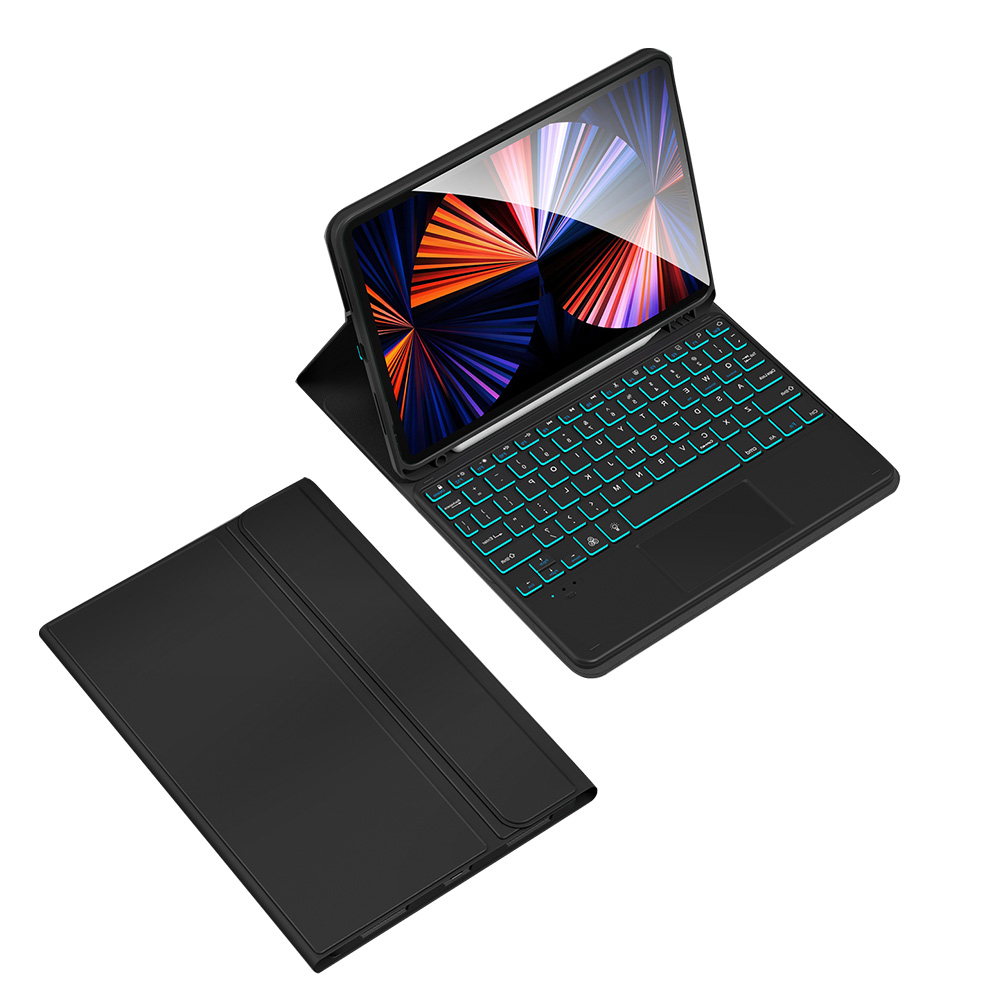
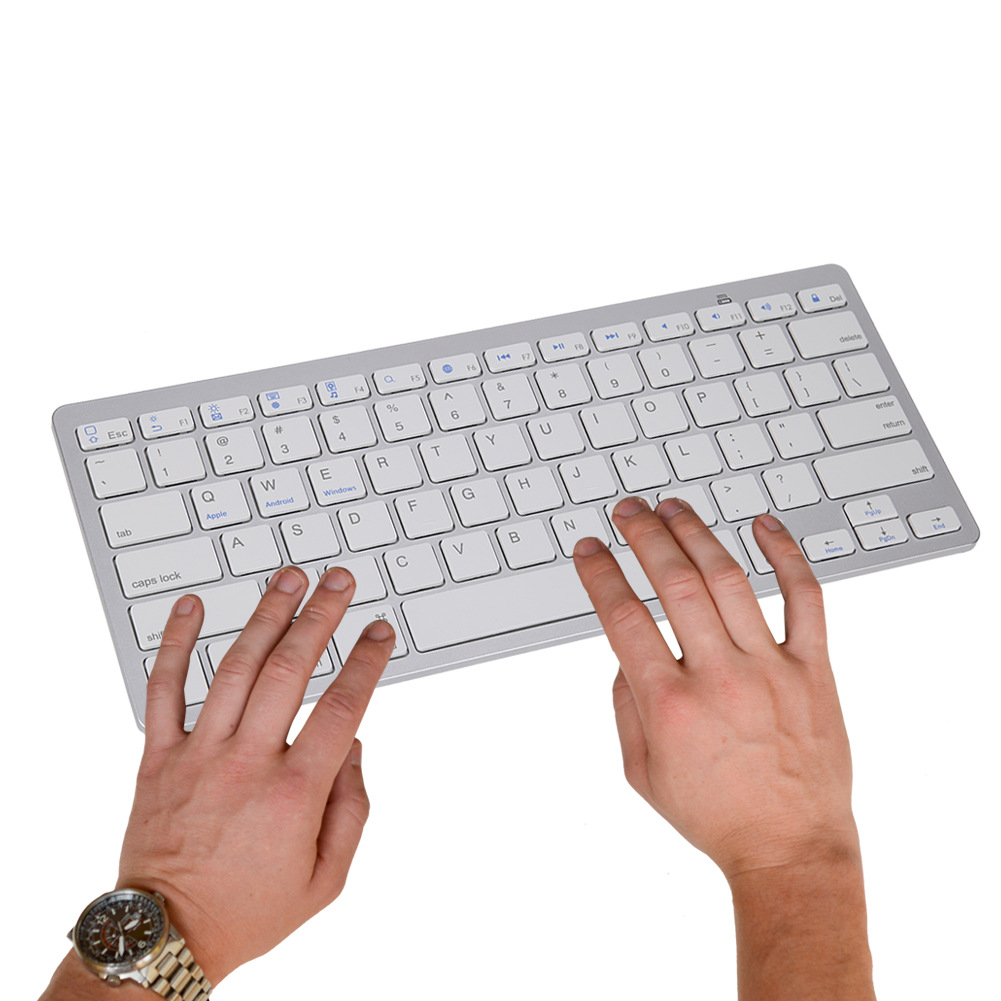
- Connect the included keyboard and mouse to the USB ports on the computer.
- Connect the VGA or HDMI cable from the computer to the monitor.
- Turn on the computer by pressing the power button.
Step 2: Initial Setup
- Follow the on-screen instructions to set up your Microsoft Windows 10 Pro operating system.
- Create or sign in to your Microsoft account.
- Set up your desired language, time zone, and other preferences.
- Connect to a Wi-Fi network (if available).
Step 3: Using the Computer
- Explore the desktop and familiarize yourself with the icons.
- Open applications by double-clicking on their icons.
- Browse the internet using the installed web browser.
- Create and edit documents using the installed office suite.
- Play CDs or DVDs using the DVD-RW drive.
- Connect external devices (such as a printer or headphones) to the USB ports.
Step 4: Shutting Down the Computer
- Save any unsaved work and close all open applications.
- Click on the “Start” button in the bottom left corner of the screen.
- Click on the power icon and select “Shut down” or “Restart” from the options.
Congratulations! You have successfully set up and started using your Dell OptiPlex Windows 10 Pro Desktop Computer PC. If you have any further questions or issues, please refer to the user manual or contact customer support.
, , Dell








Reviews
Clear filtersThere are no reviews yet.